Your Visit
We’ve put together a resource guide for new and established patients offering recommendations and tutorials on booking, appointments, Patient Portal, and more. We recommend all patients review Make the Most of Your Appointment, providing an easy checklist as well as SWOFM Tips on how to make your appointment work best for you. New patients interested in becoming part of our practice can visit our Online Booking Tutorial (New Patients) for how to book an appointment. Established patients can visit our Online Booking Tutorial (Established Patients) section for a step-by-step guide on booking your appointment online. Learn about how to connect your fitness device to the Healow app in our Healow Trackers section. For information on how TeleHealth Appointments work, please review our TeleHealth Booking Tutorial and TeleHealth Appointment Tutorial.
All patients should review our Patient Portal Tutorial walk-through to familiarize themselves with our online portal, which allows patients to review their medical records, lab results, request prescriptions, message their clinicians, and so much more. We have also created easy-to-follow video guides on our Healow App under Healow Video Tutorials.
Make the Most of Your Appointment
Make the Most of Your Appointment
Whether you are a new or established patient, we’ve put together a quick and easy checklist to help you prepare for your appointment.
Step 1: Book Your Appointment
When you book your appointment, let us know the reason for your visit. You can leave detailed comments when you book online through our website or tell us over the phone if you call in to schedule.
SWOFM Tip: Delays are often felt when there are surprises during an appointment. It’s helpful to share your thoughts and concerns with us when scheduling your appointment. This helps save you time during your appointment, so you have more time to spend with your Clinician.
Step 2: Set An Appointment Reminder
After scheduling your appointment, write down the appointment date and time in your calendar. We will call to remind you about your appointment, but it’s always a good idea to keep track of the appointments you’ve scheduled.
SWOFM Tip: Set a reminder in your calendar a few days before your appointment. When the reminder pops up, make sure you have the appointment time, address, and phone number ready so you can be fully prepared on the day of your appointment. This is also a great time to make sure you’ve filled out any health questionnaires required for your visit in the Patient Portal.
Step 3: Write Down Your Concerns
Come to your appointment with a list of concerns you’d like to review with your Clinician. You can write them down on a piece of paper or take notes in your phone. Try making a list of the top 2 or 3 issues you’d like to address during your visit. Don’t forget to bring pill bottles for any medications or supplements you are currently taking.
SWOFM Tip: Taking the time to list your concerns in order of importance helps you stay focused during your consultation so you don’t forget anything important while you are with your Clinician. There may be times where certain health concerns take priority over others, making it necessary for a follow-up appointment to address your remaining healthcare needs. Our Clinicians need to know what medications and supplements you’re taking in order to provide you the best healthcare possible.
Step 4: After Your Visit
Congratulations, you’ve finished your appointment! Be sure to read your Visit Summary in the Patient Portal after your visit. Your Visit Summary has notes from your visit along with any recommendations your Clinician has for you, based on your appointment.
SWOFM Tip: Your Patient Portal shows your Visit Summary, Lab Results, Prescription Refills, and more. You can also send a secure message to your Clinician if you have any questions. Patients who use Patient Portal or the Healow App have easy access to healthcare at their fingertips.
Online Booking Tutorial (New Patients)
Online Booking Tutorial
For New Patients, enrolling in our practice and booking your appointment takes only a few minutes! To get started, select the Book An Appointment button at the top of the page.
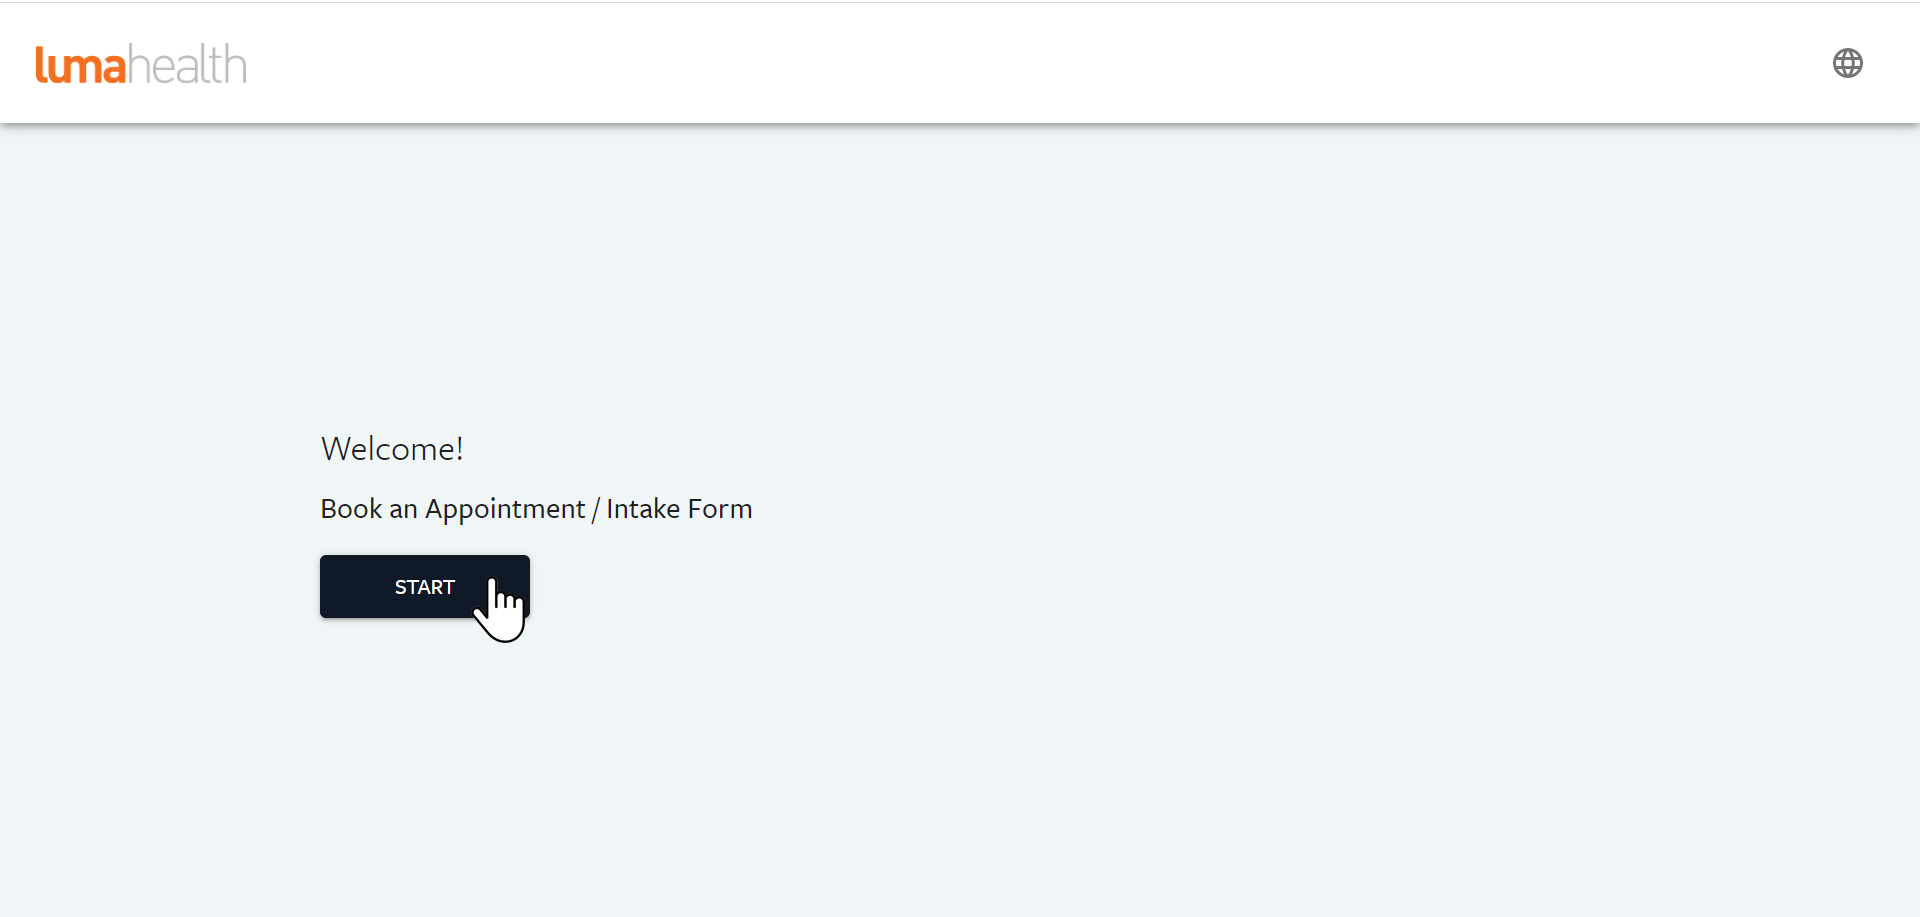
 The Book Appointment button will open a new window. Select “Start” to begin.
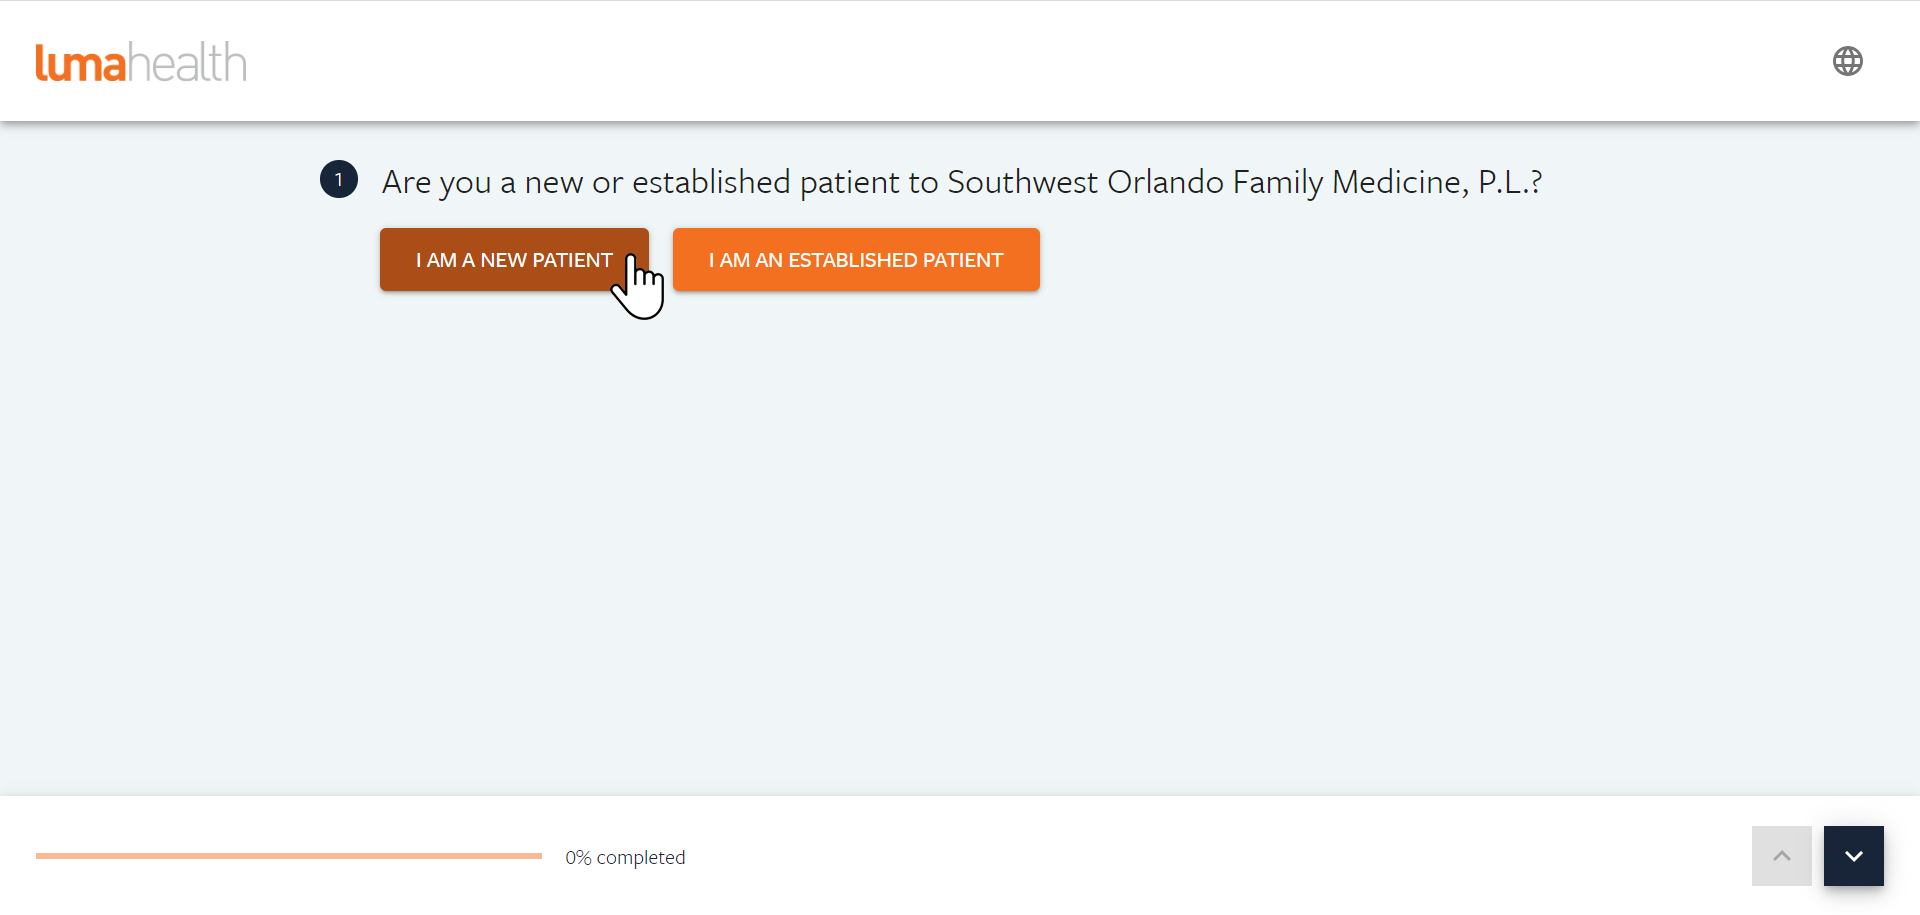
 Next, select I Am A New Patient. You’ll notice the progress bar at the bottom of the application window, as well as arrows that allow you to go backwards or forwards if you need to change your response.
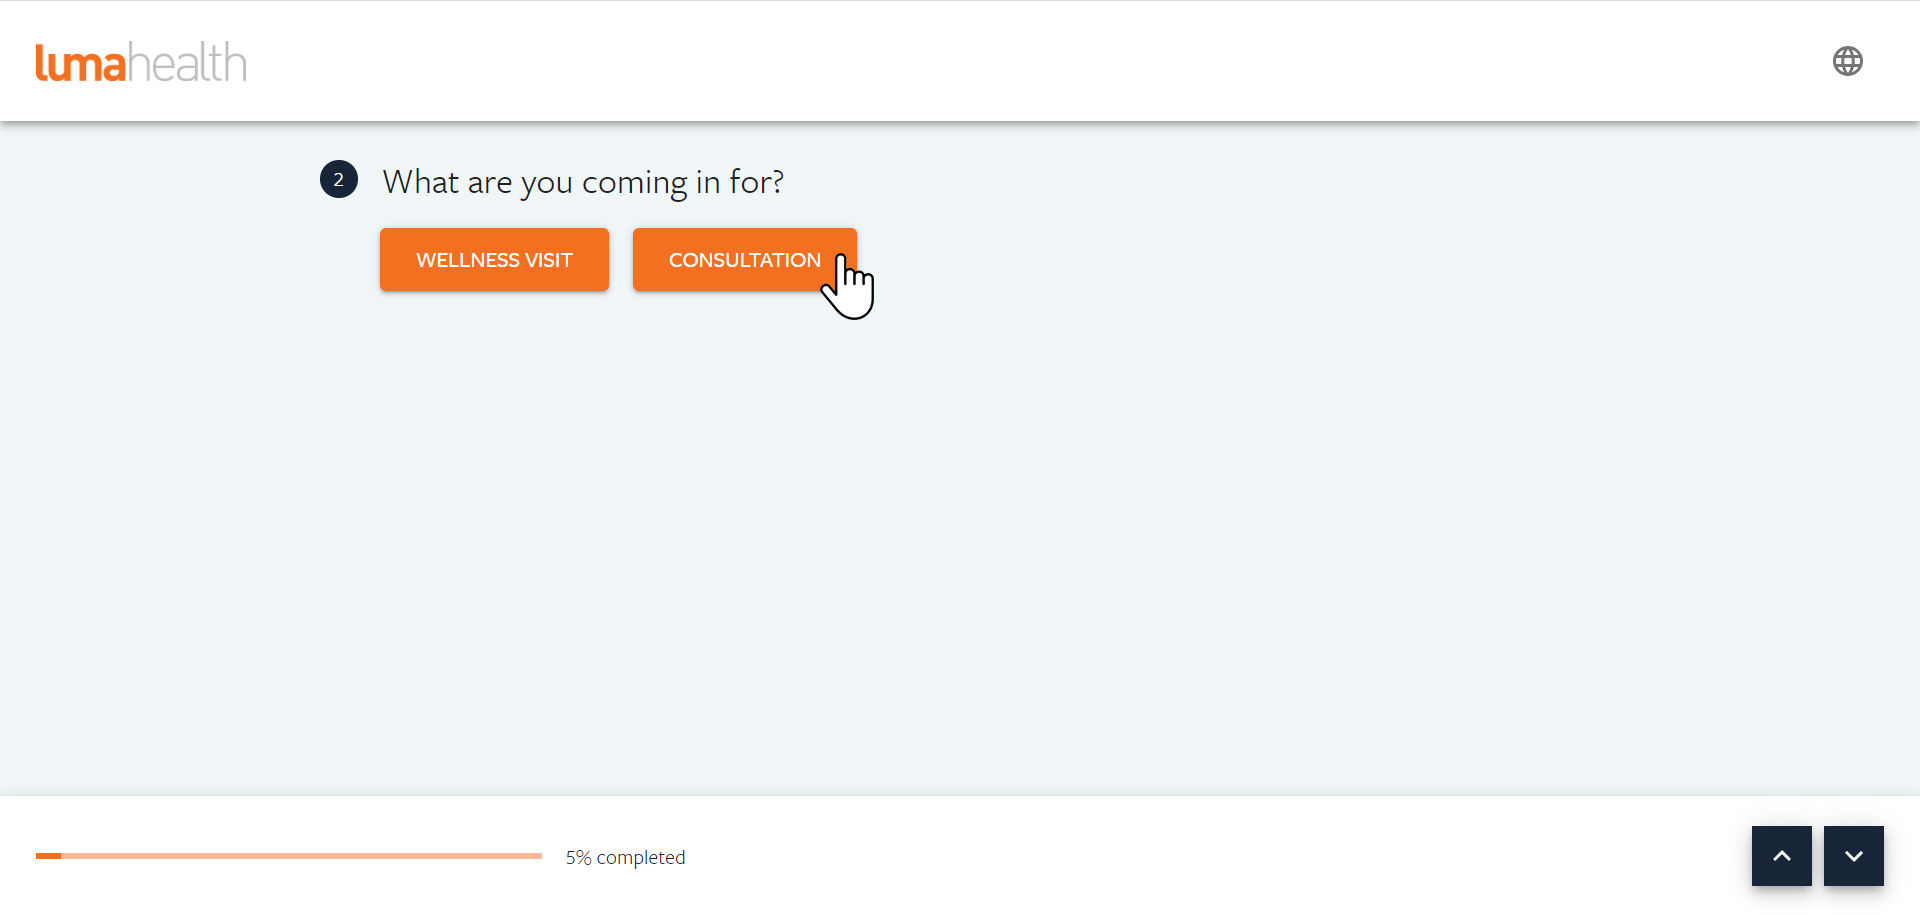
 Select the reason for your visit, you can choose from Wellness Visit or Consultation. In this example, we will select Consultation.
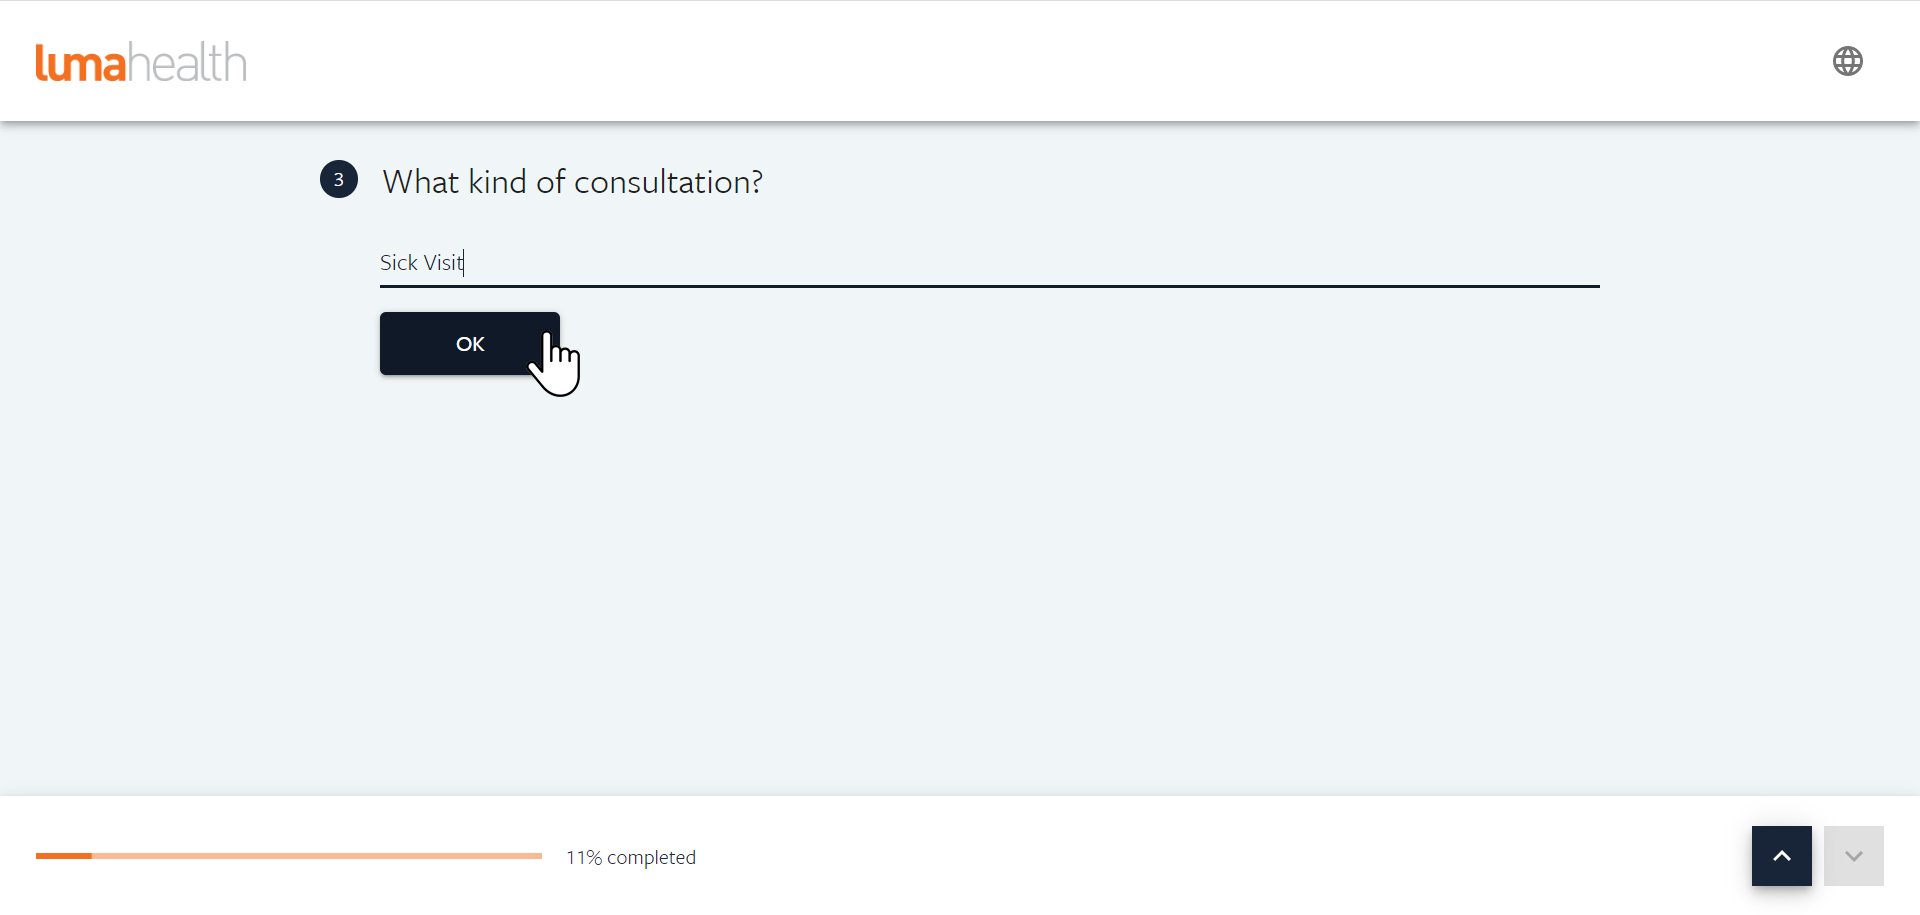
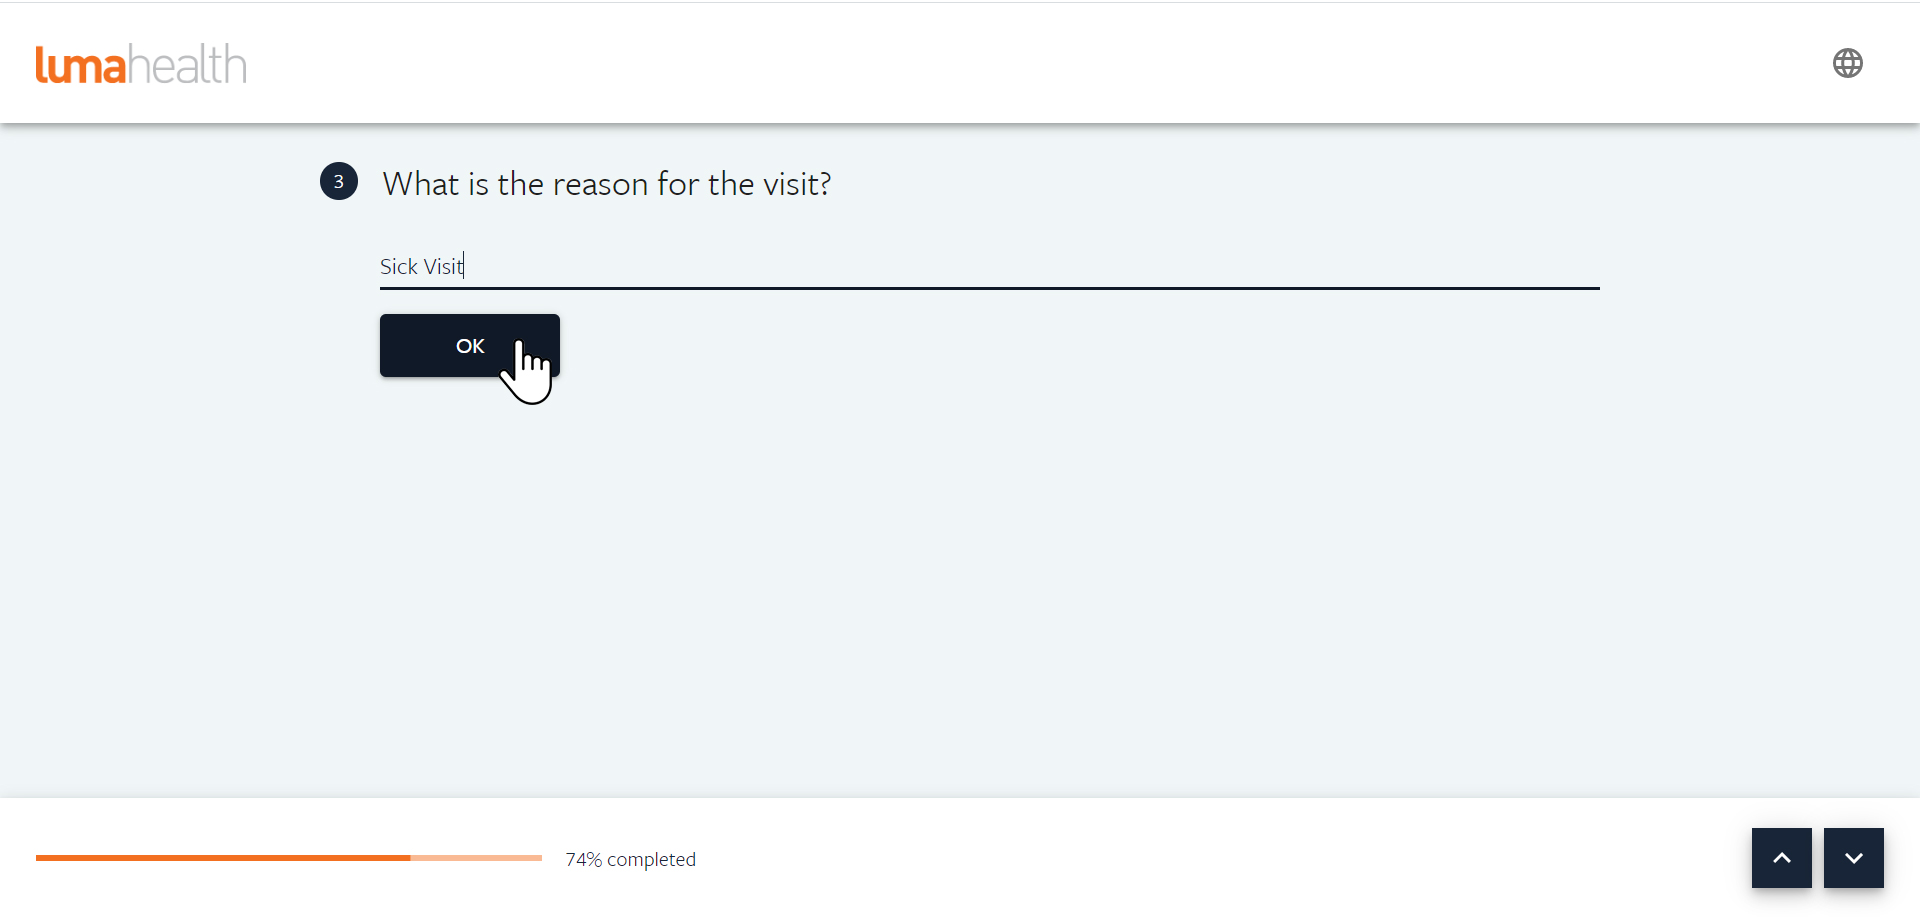
 After selecting Consultation, enter in the reason for your visit.
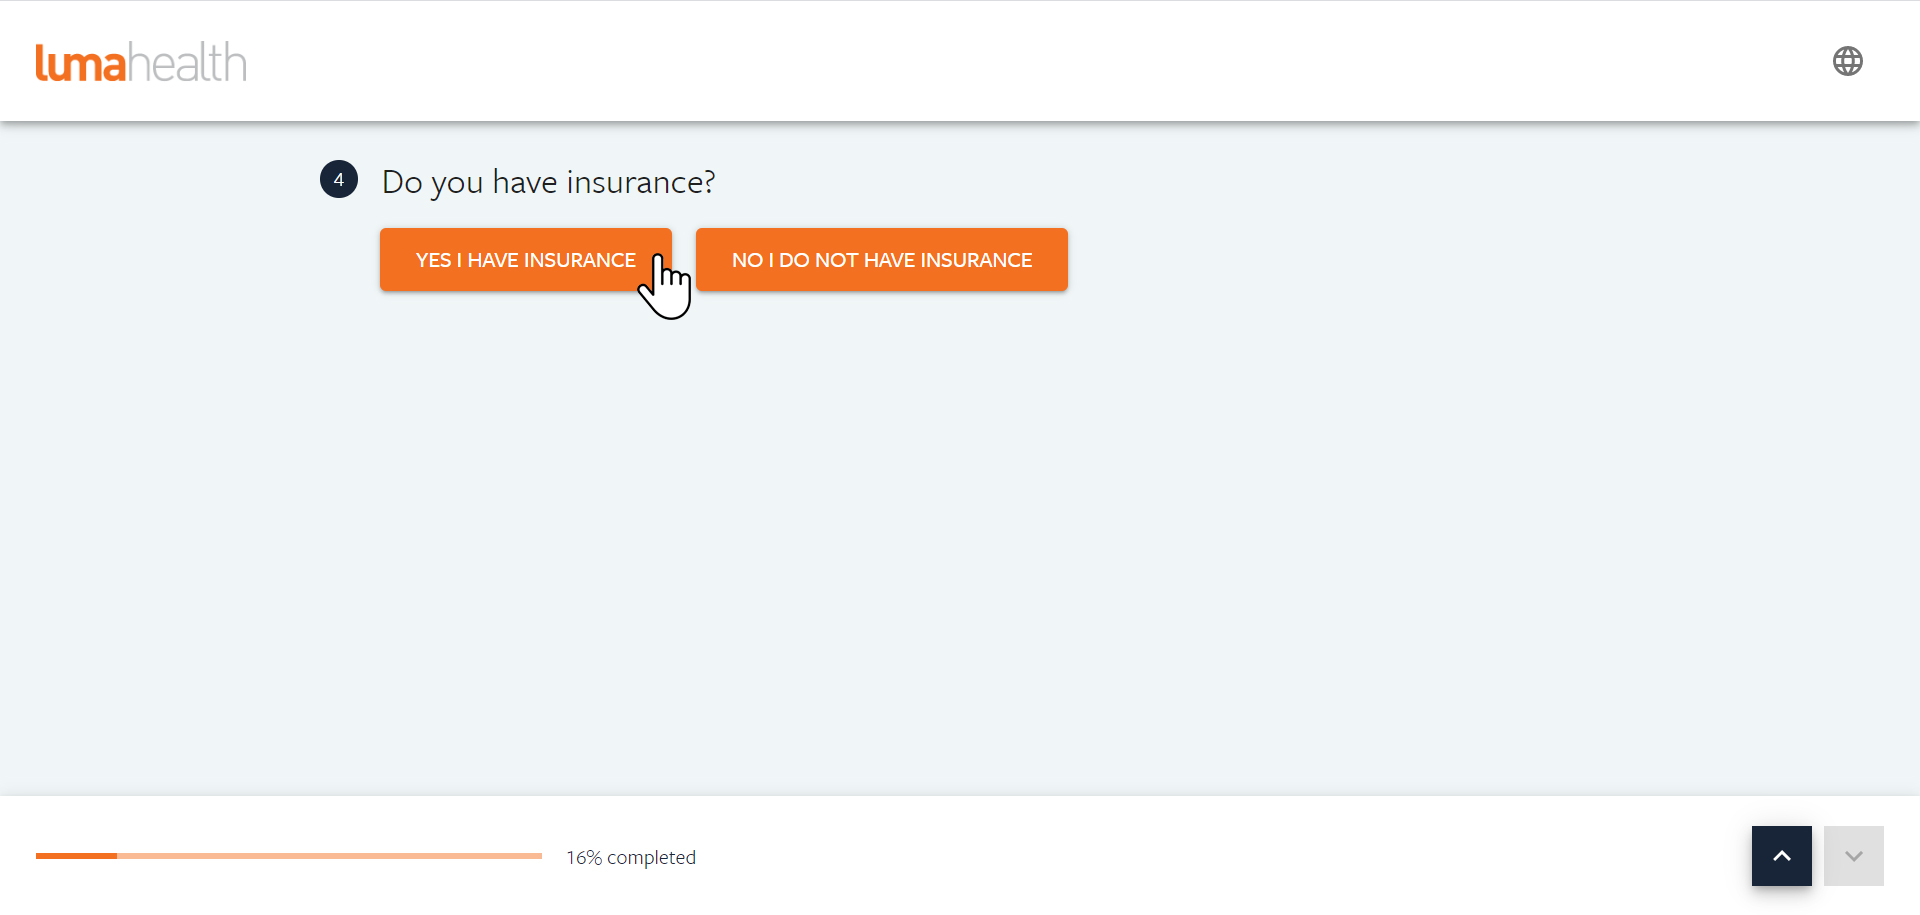
 Once you’ve entered in the reason for your visit, you will be asked about your insurance coverage. In this example, we will select Yes I Have Insurance.
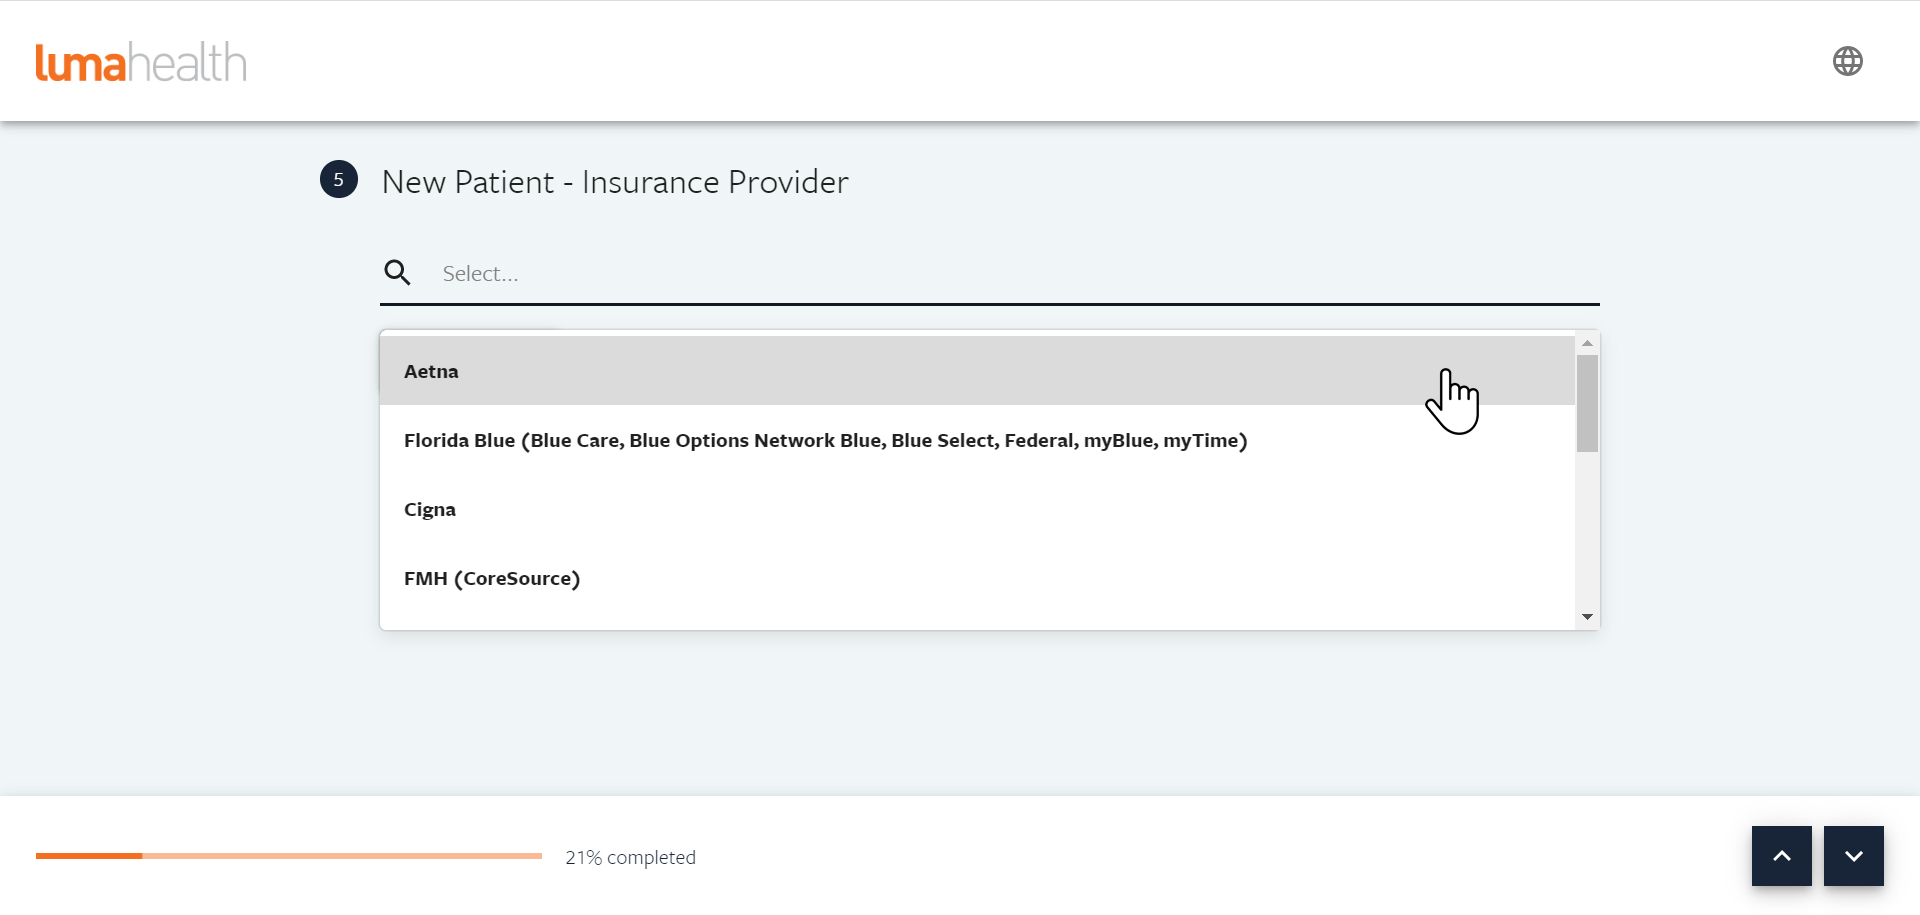
 If you have insurance, you will then be prompted to select your Insurance Provider from a list. You can either type in the name of your provider or scroll through the list to select. Once you’ve selected, press Ok.
 Next, you will need to enter your Member ID and Group Number.
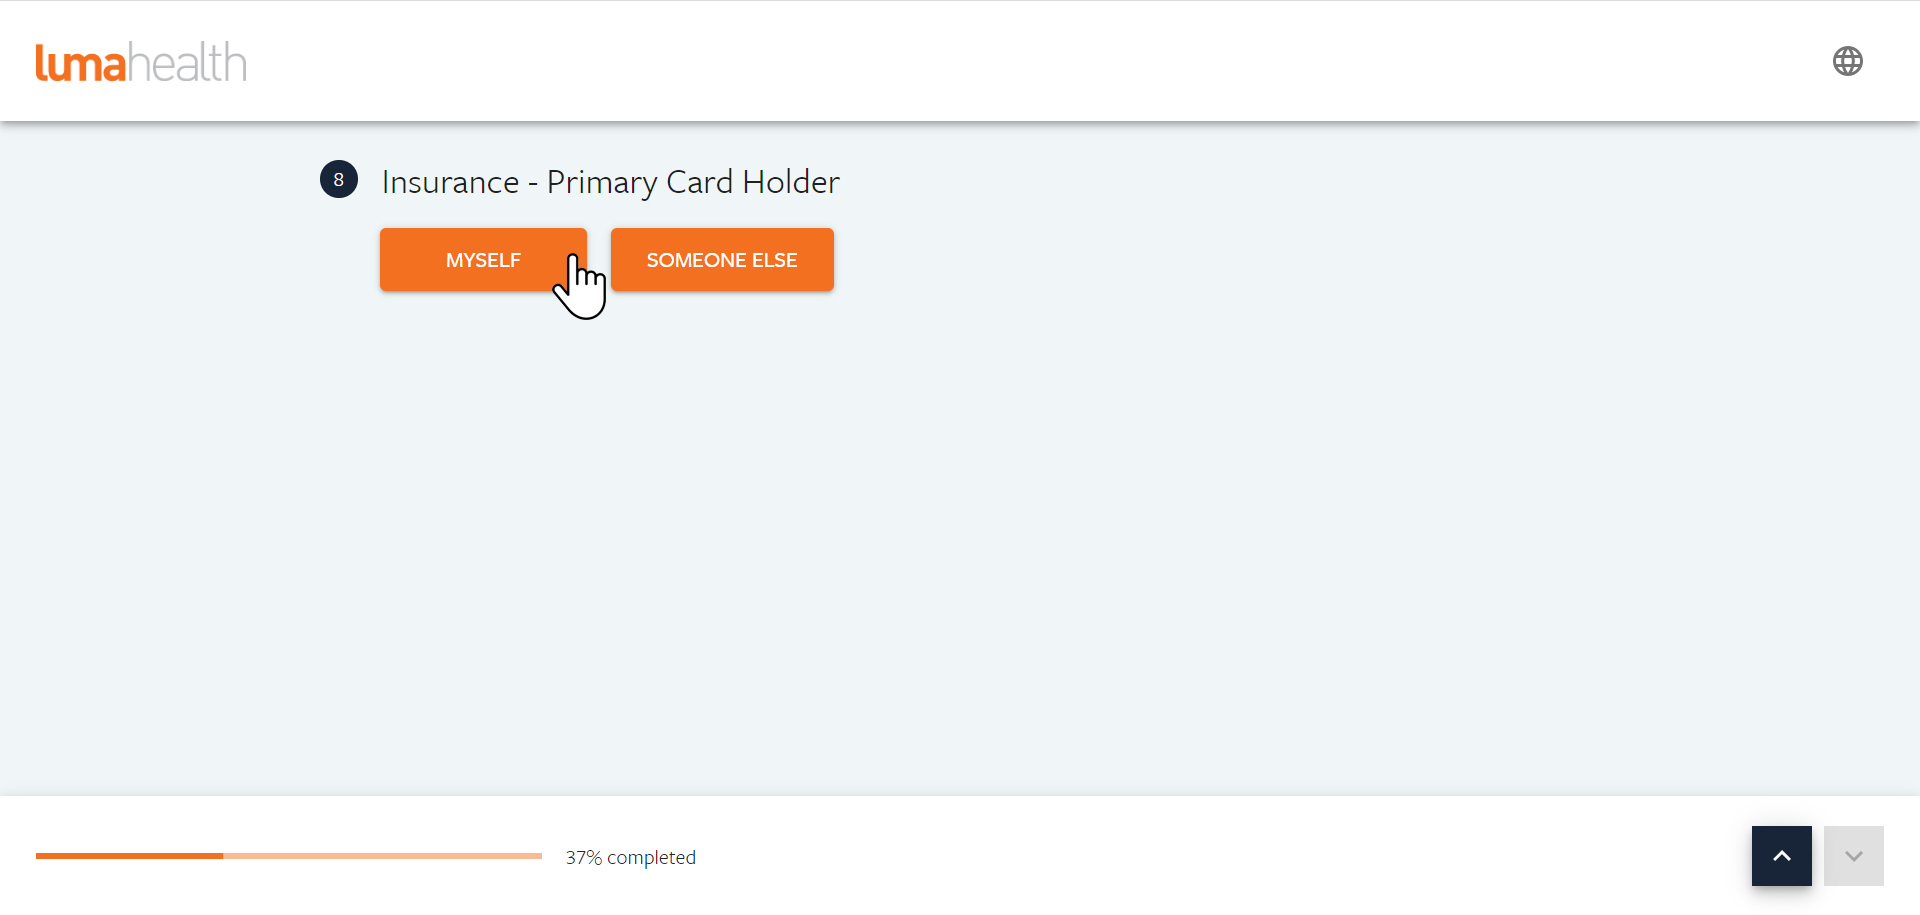
 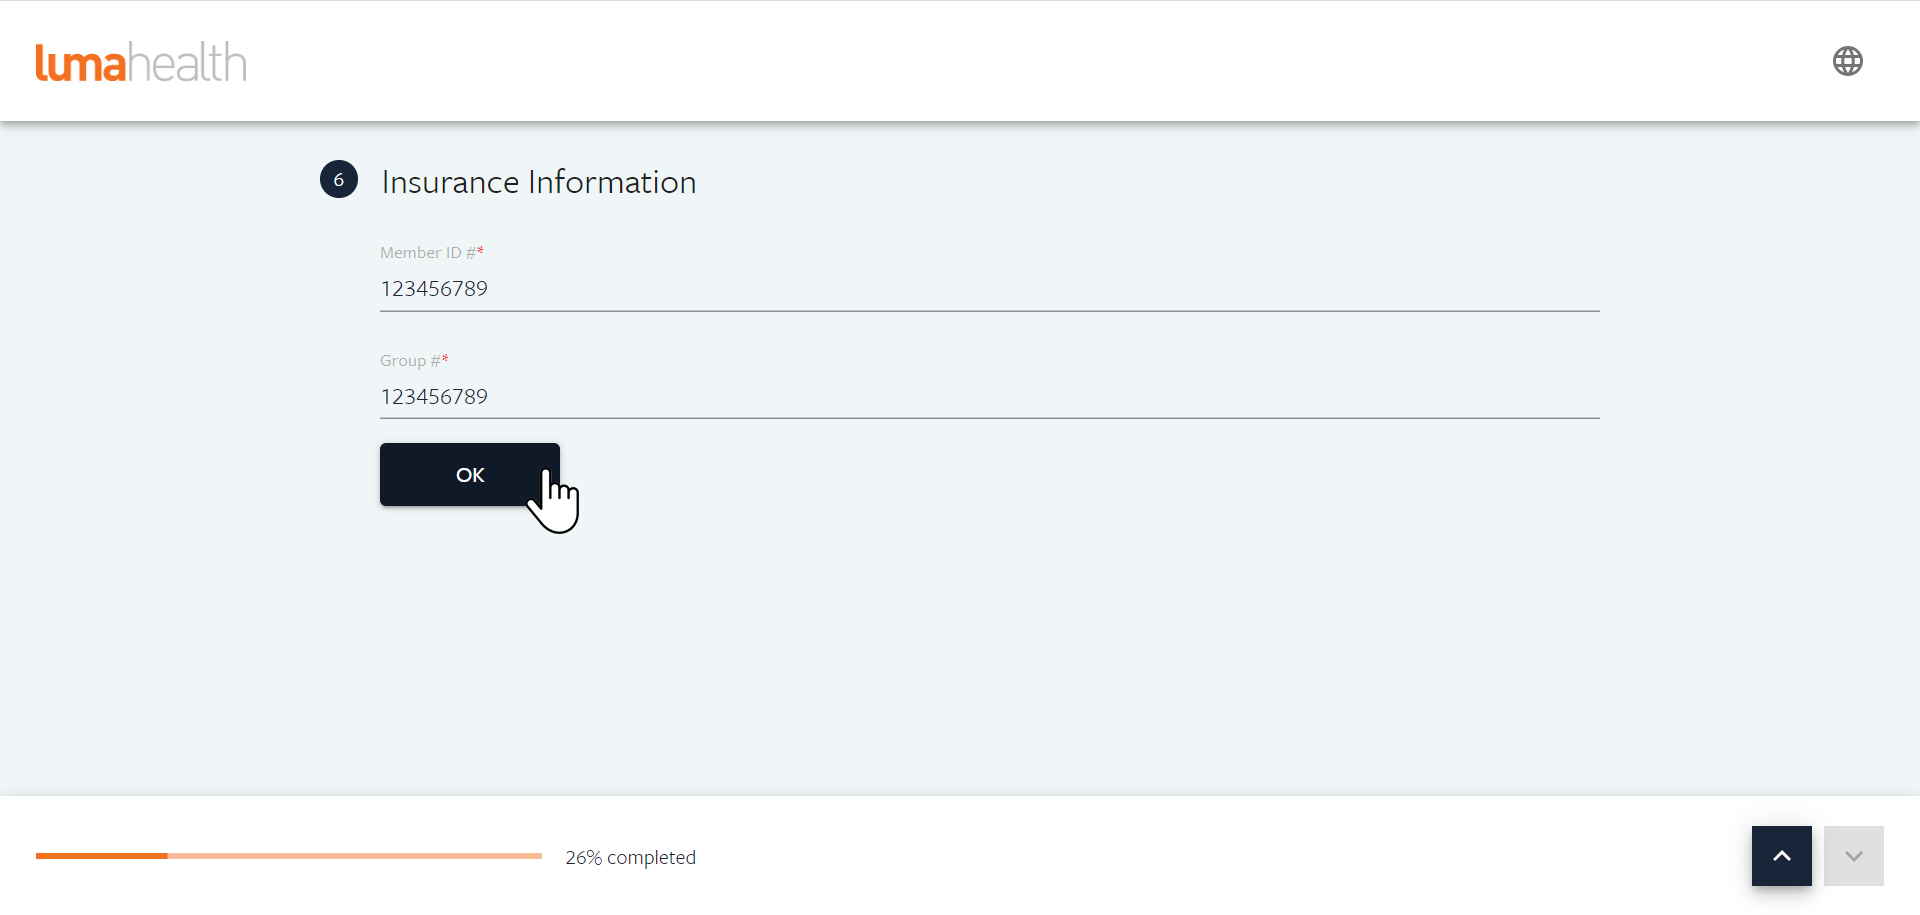 After you’ve entered your insurance information, please verify whether you are the primary card holder.
 Once you’ve made this selection, you will be prompted to add the name of your pharmacy. Simply type the name of your pharmacy into the search bar until your pharmacy comes up. Then, select and press Ok.
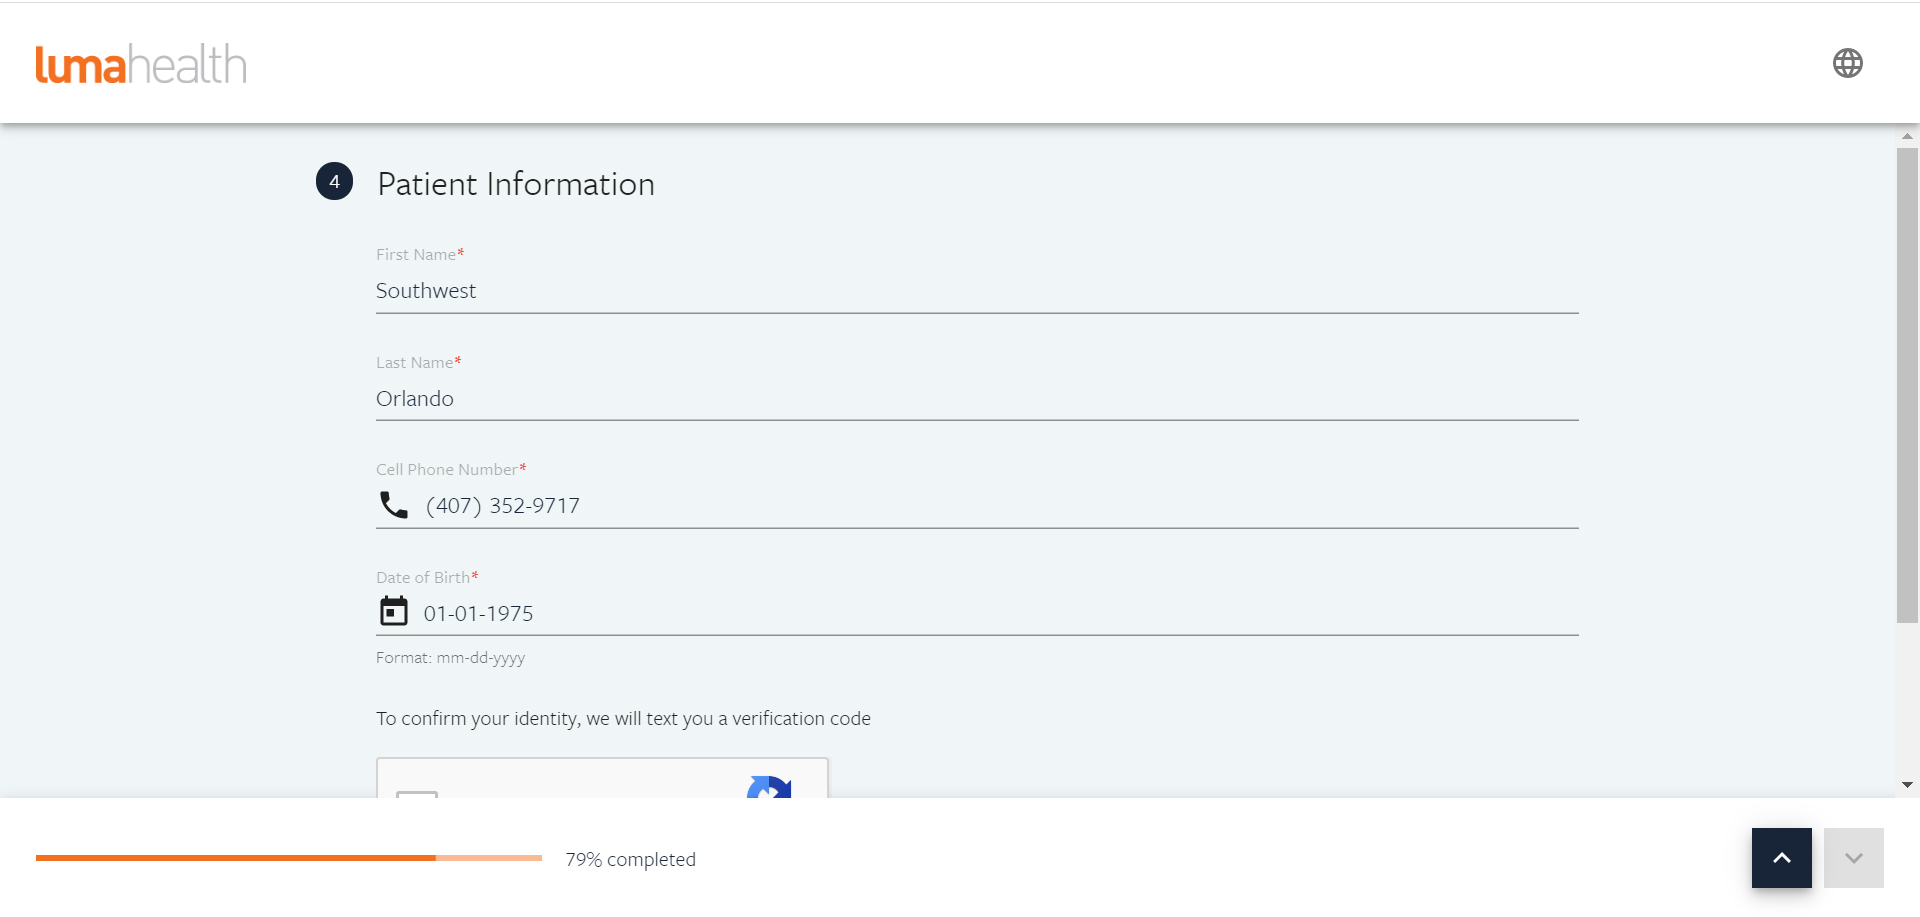
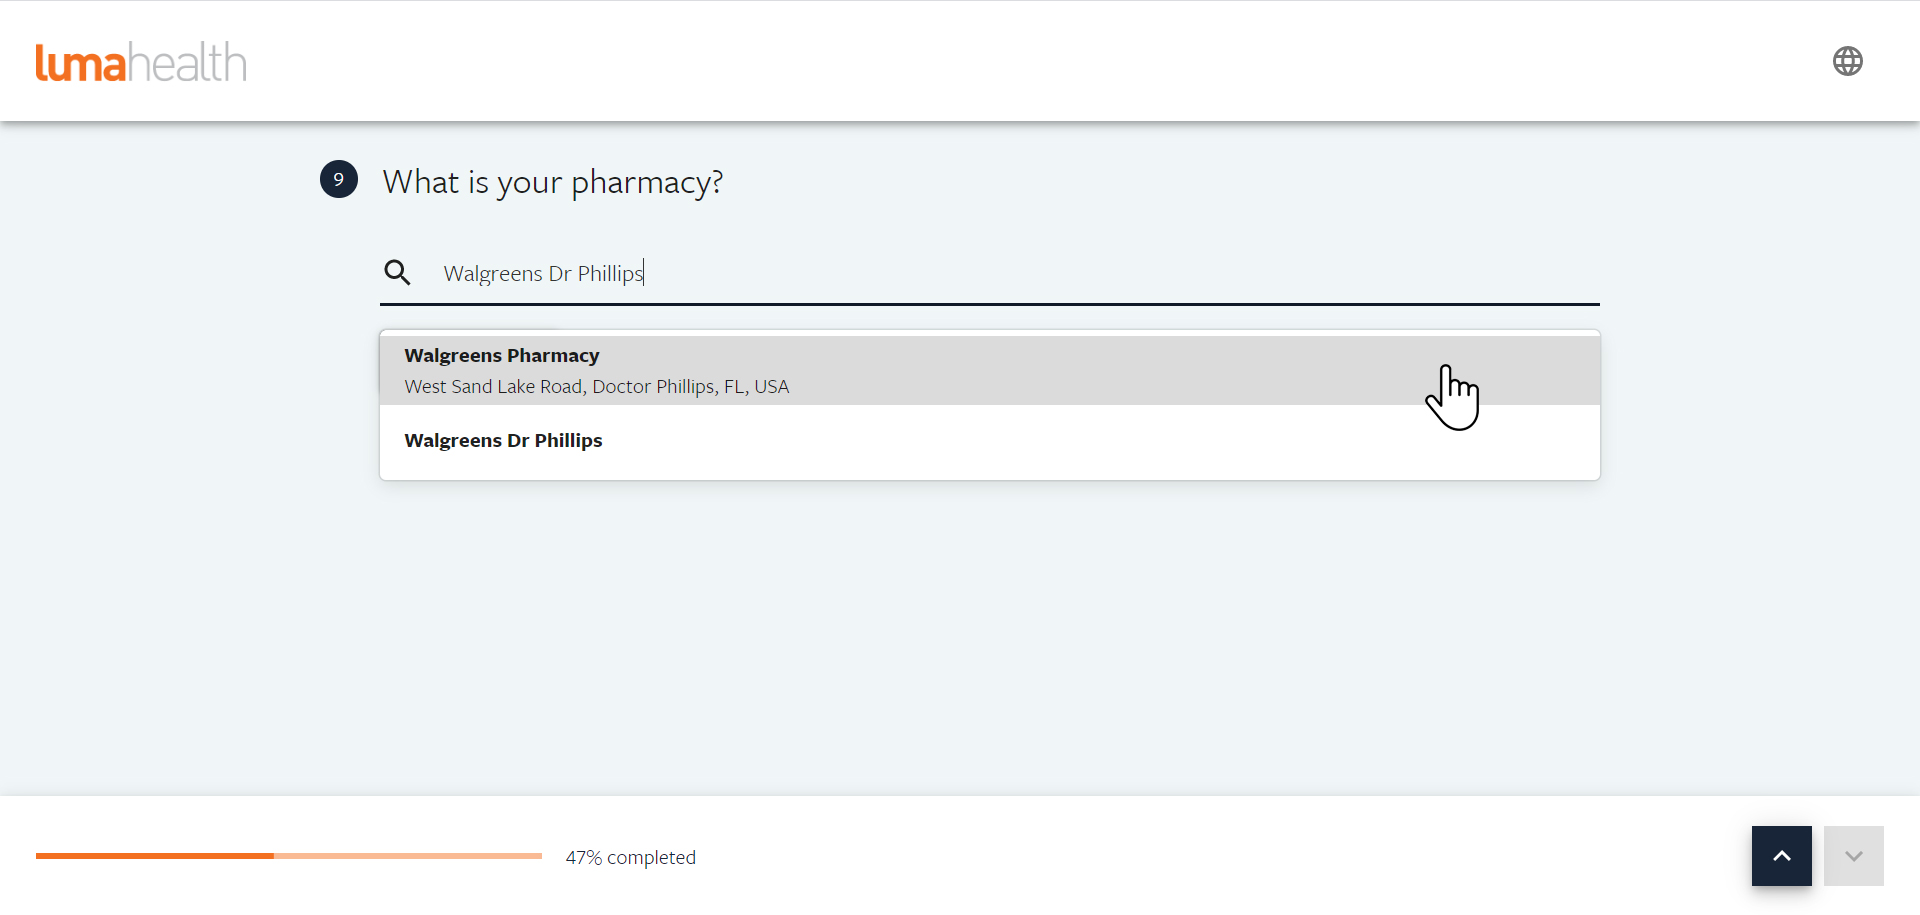 Next, input your Patient Information as shown below. You will be asked for your Name, Phone Number, Email, and Date of Birth. Continue scrolling to complete the rest of the form.
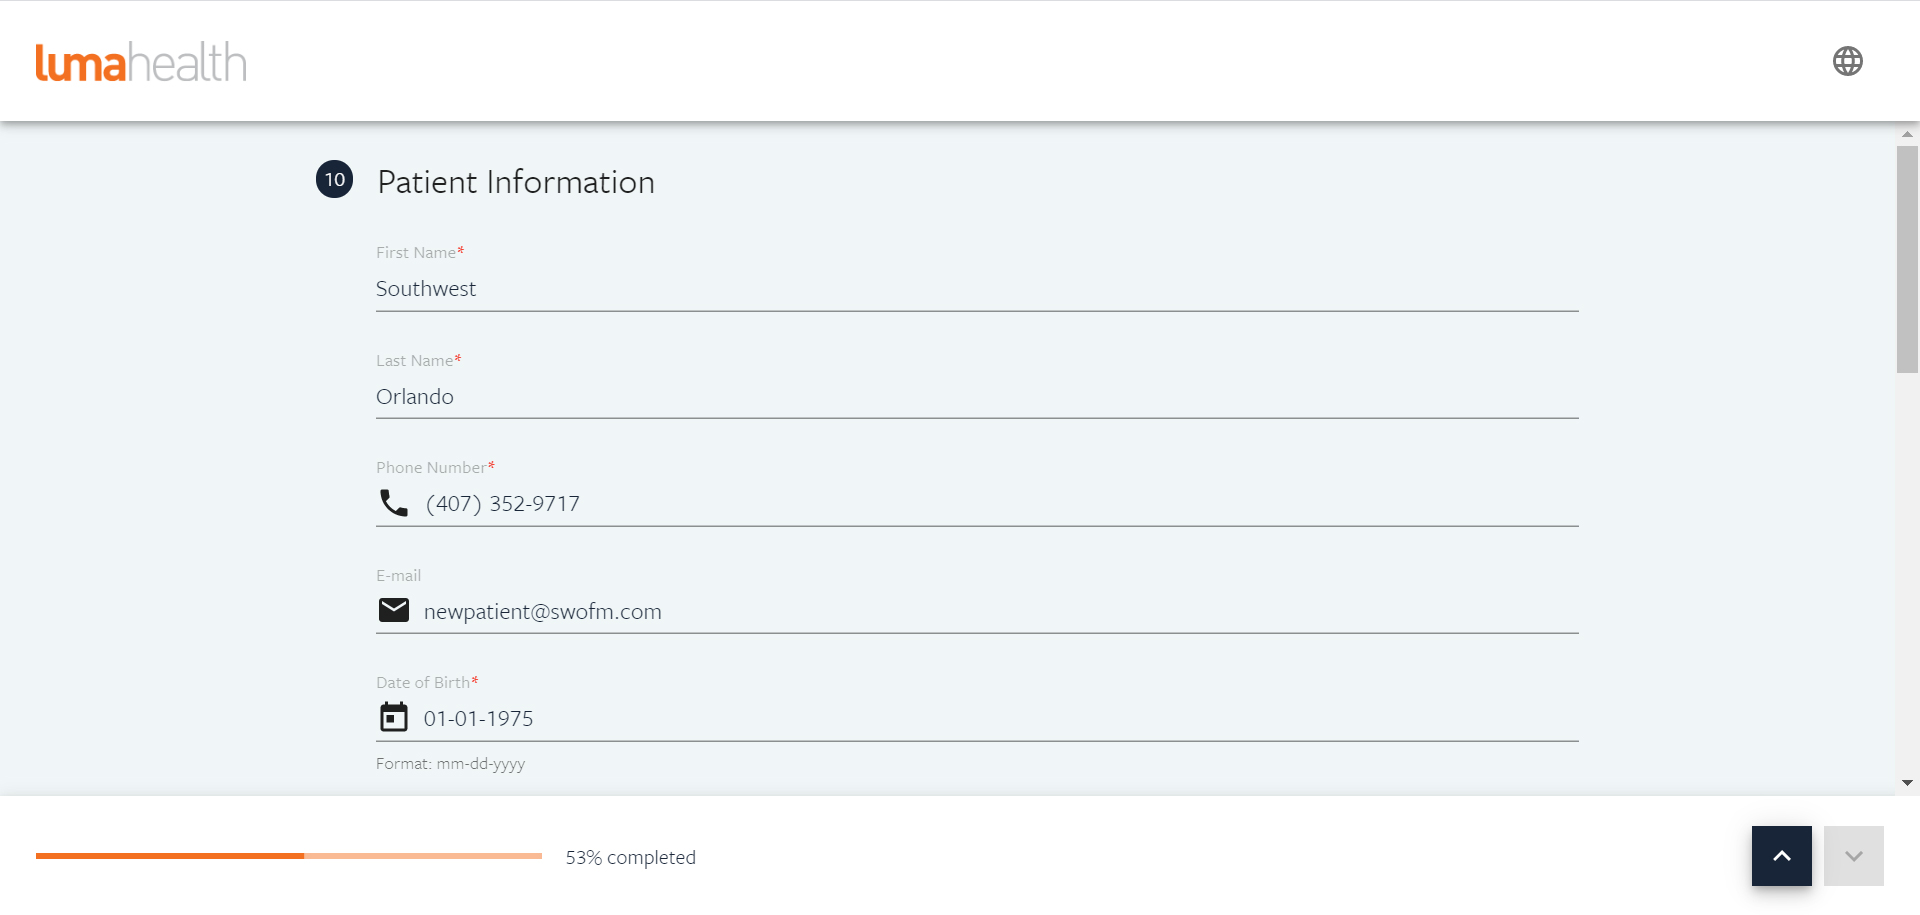 You will enter your Address, Marital Status, Gender, Race, and Ethnicity.
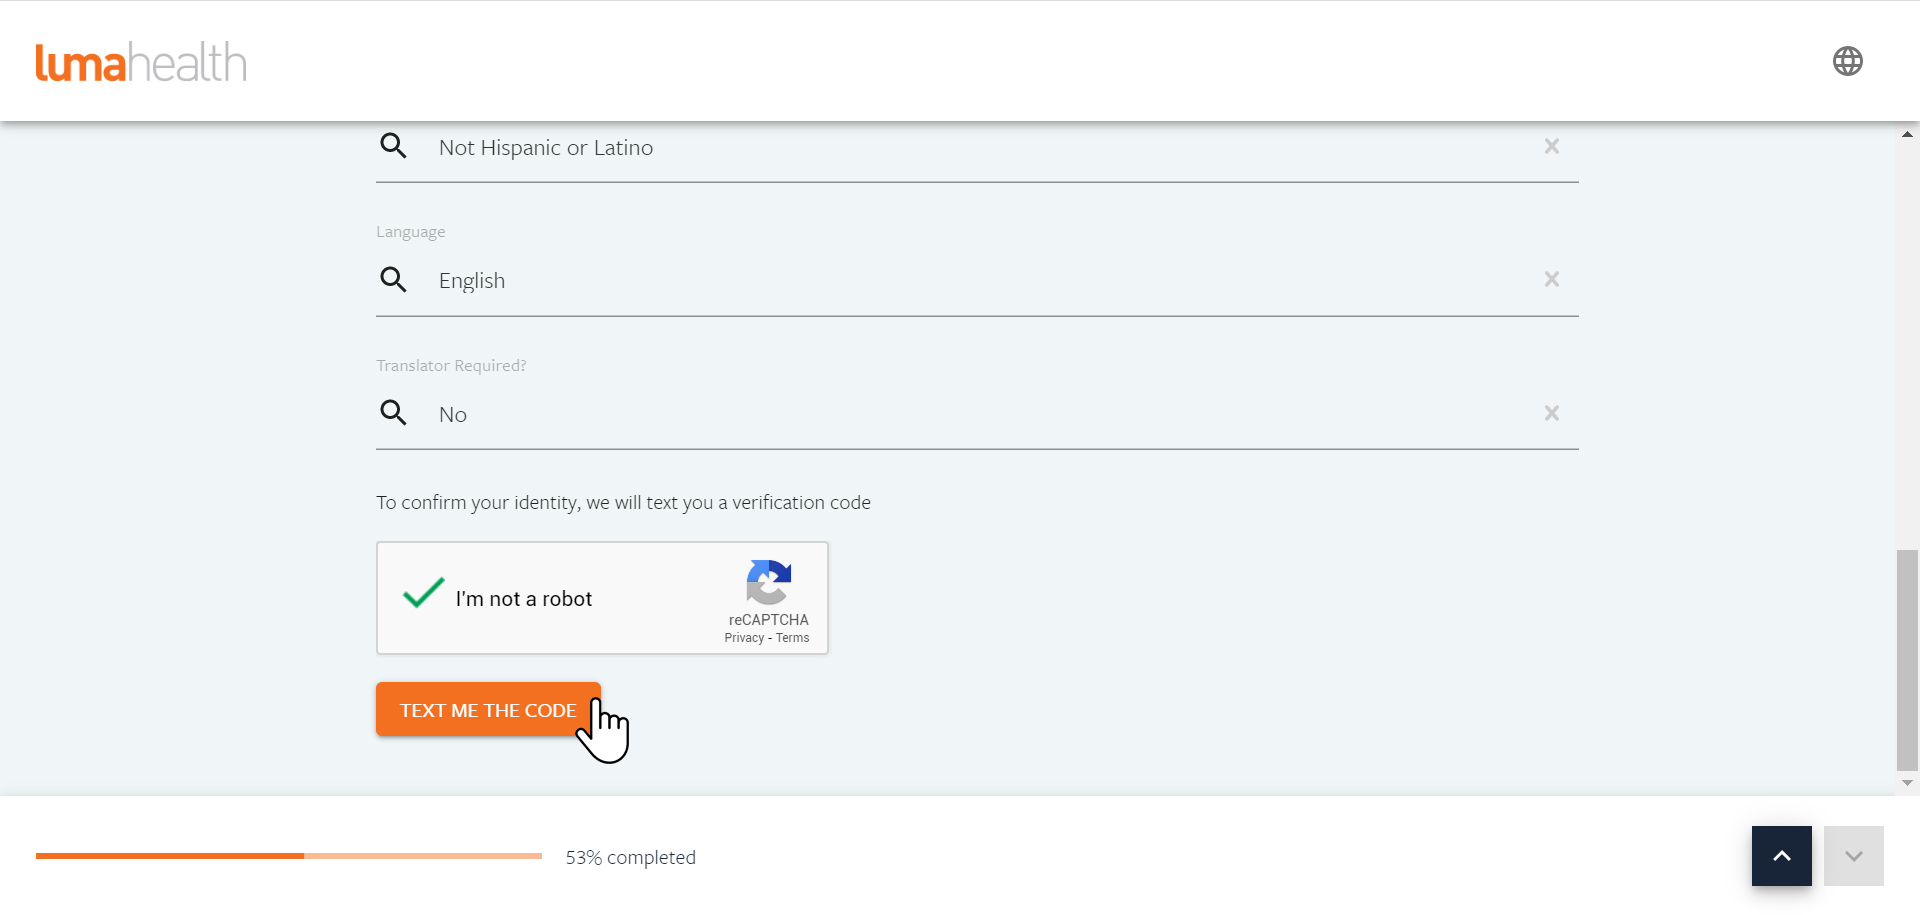
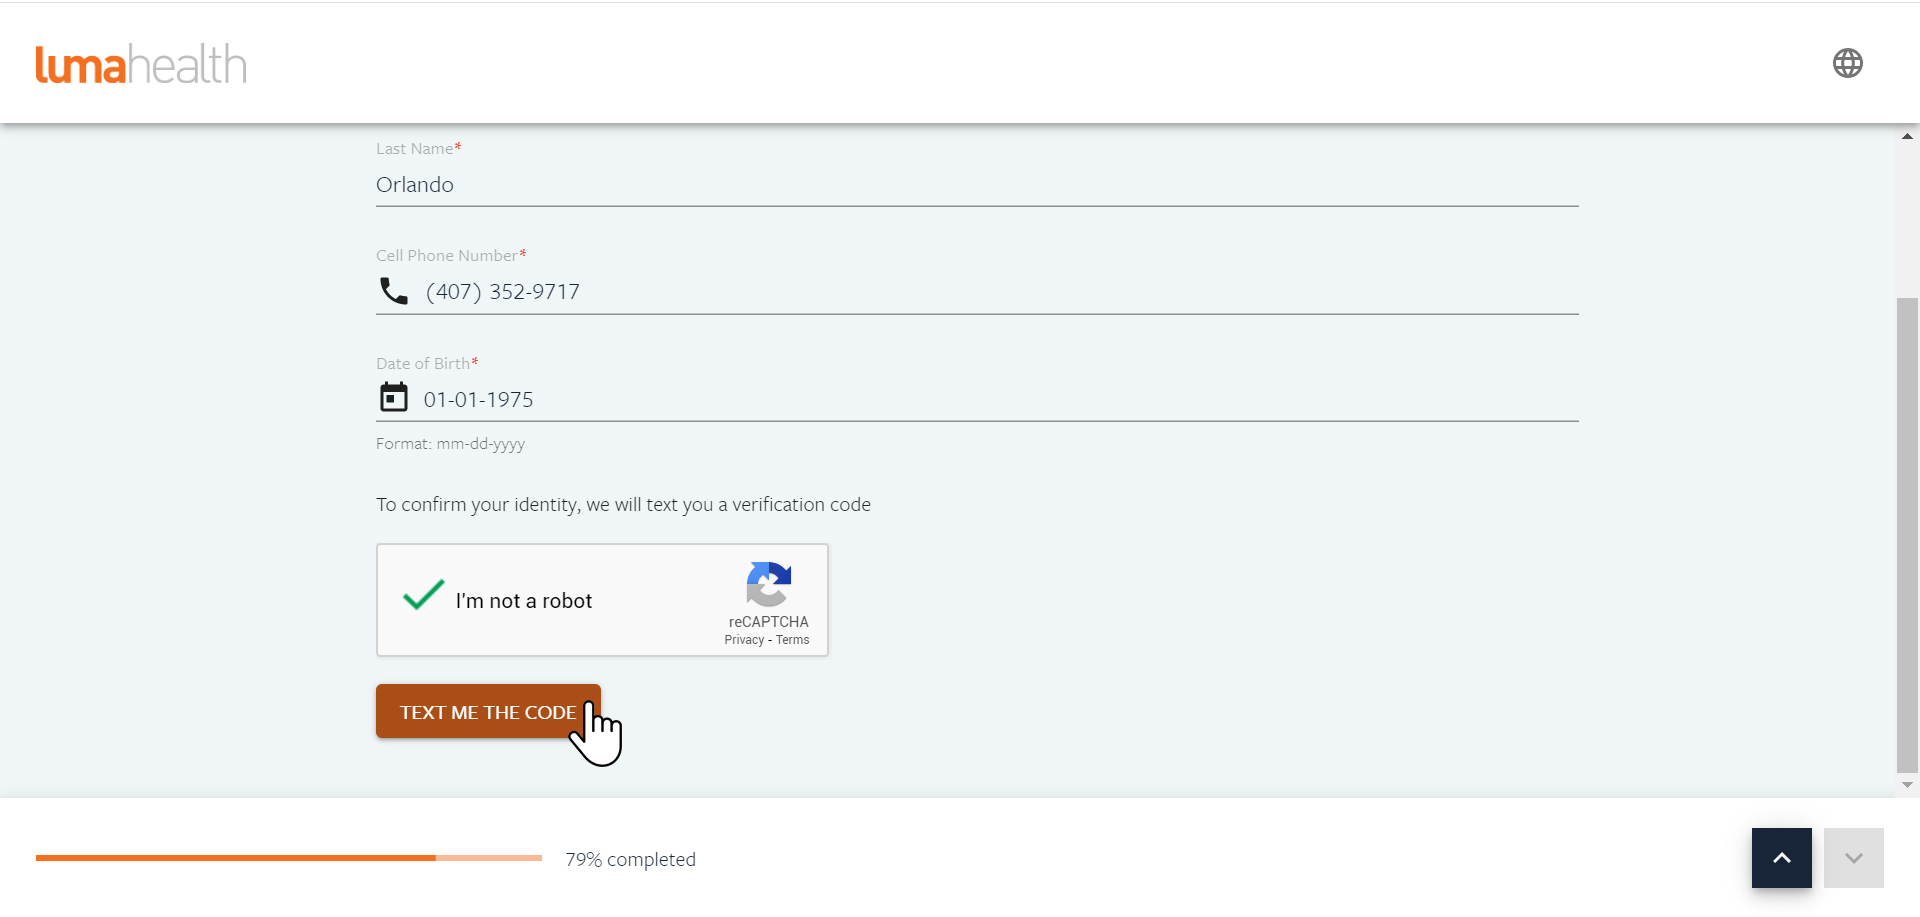
 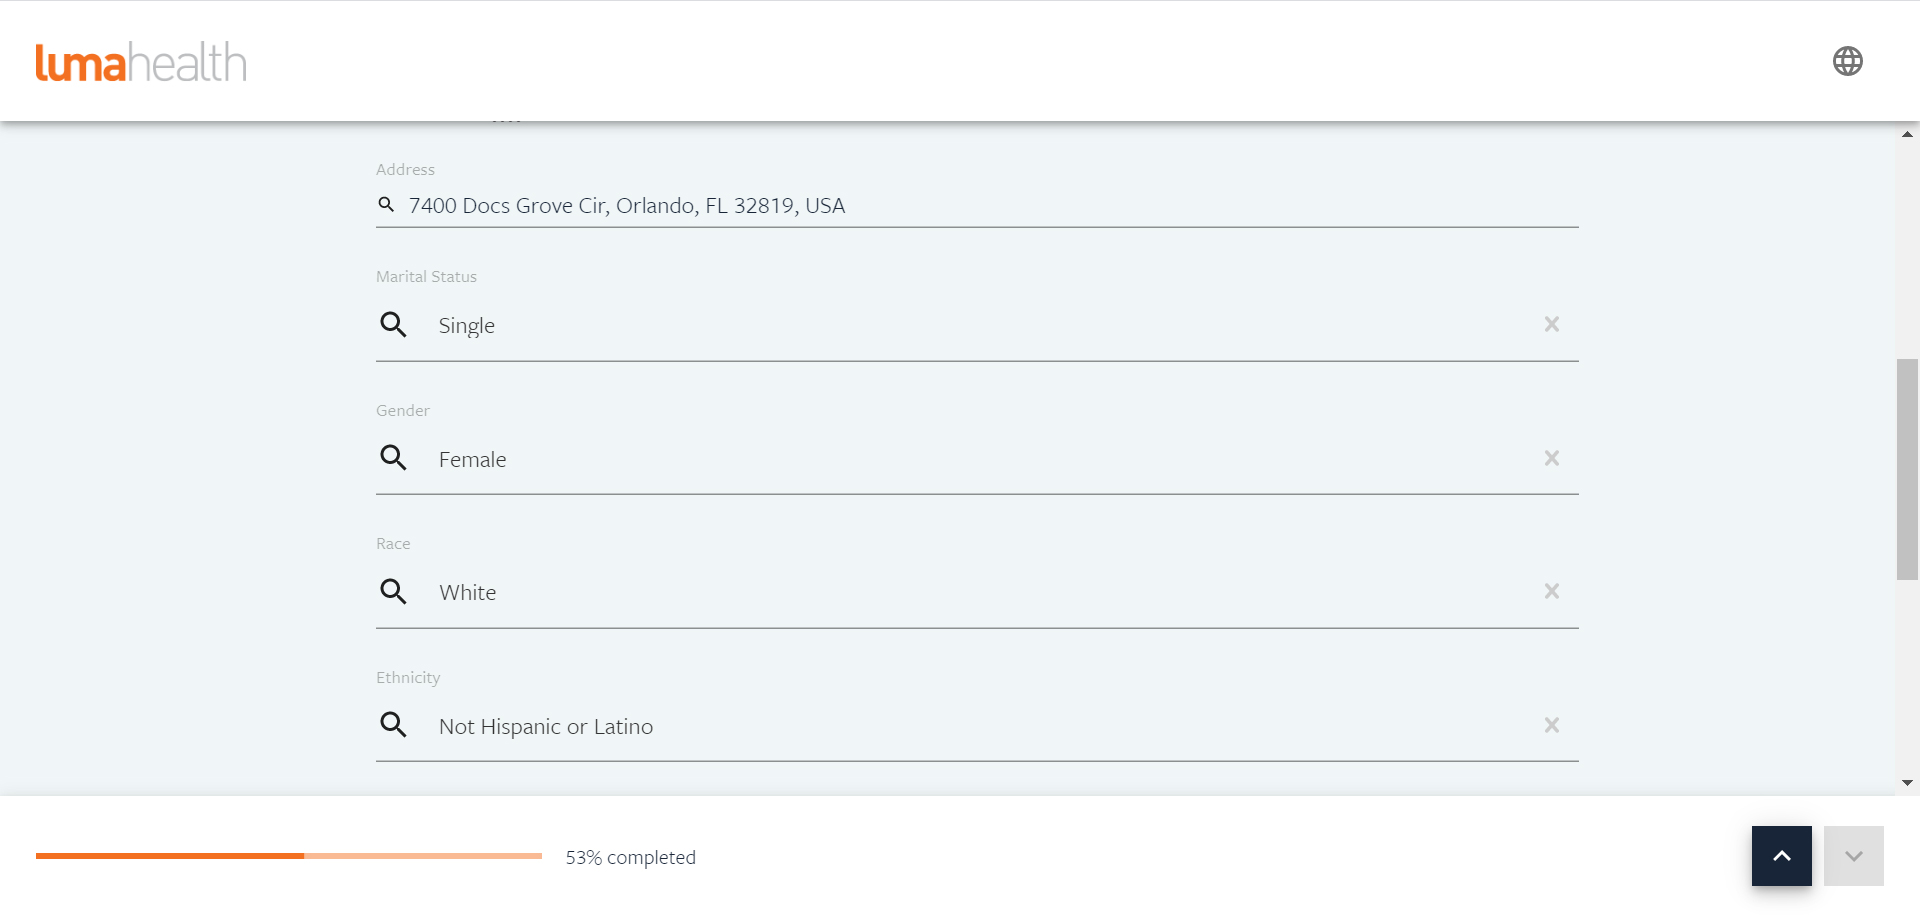 To complete your Patient Information, select your language preference and whether a translator is required (Please note: we speak English, Spanish, Portuguese and Tagalog at our office, and have translation services available). Once you’ve completed your Patient Information, select the “I’m Not A Robot” checkbox and select the “Text Me the Code” button. You’ll receive a verification code by text message or email to confirm your details.
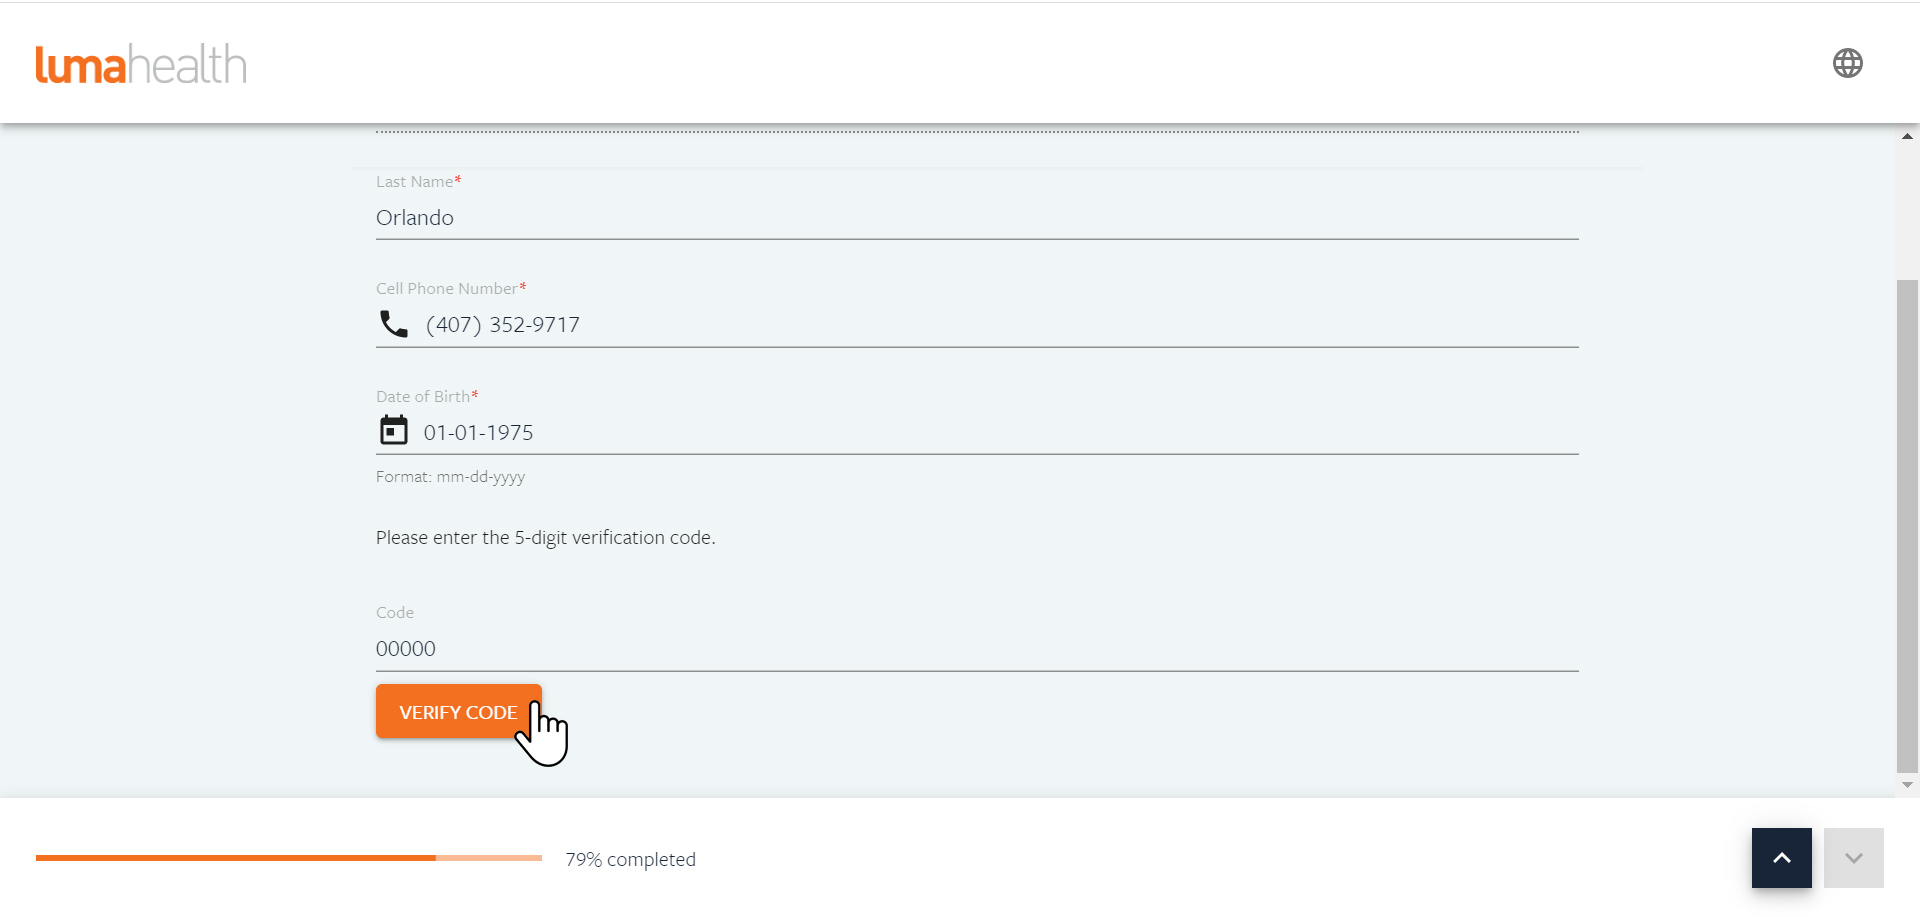
 Once you receive your confirmation code, type it in and select the “Verify Code” button.
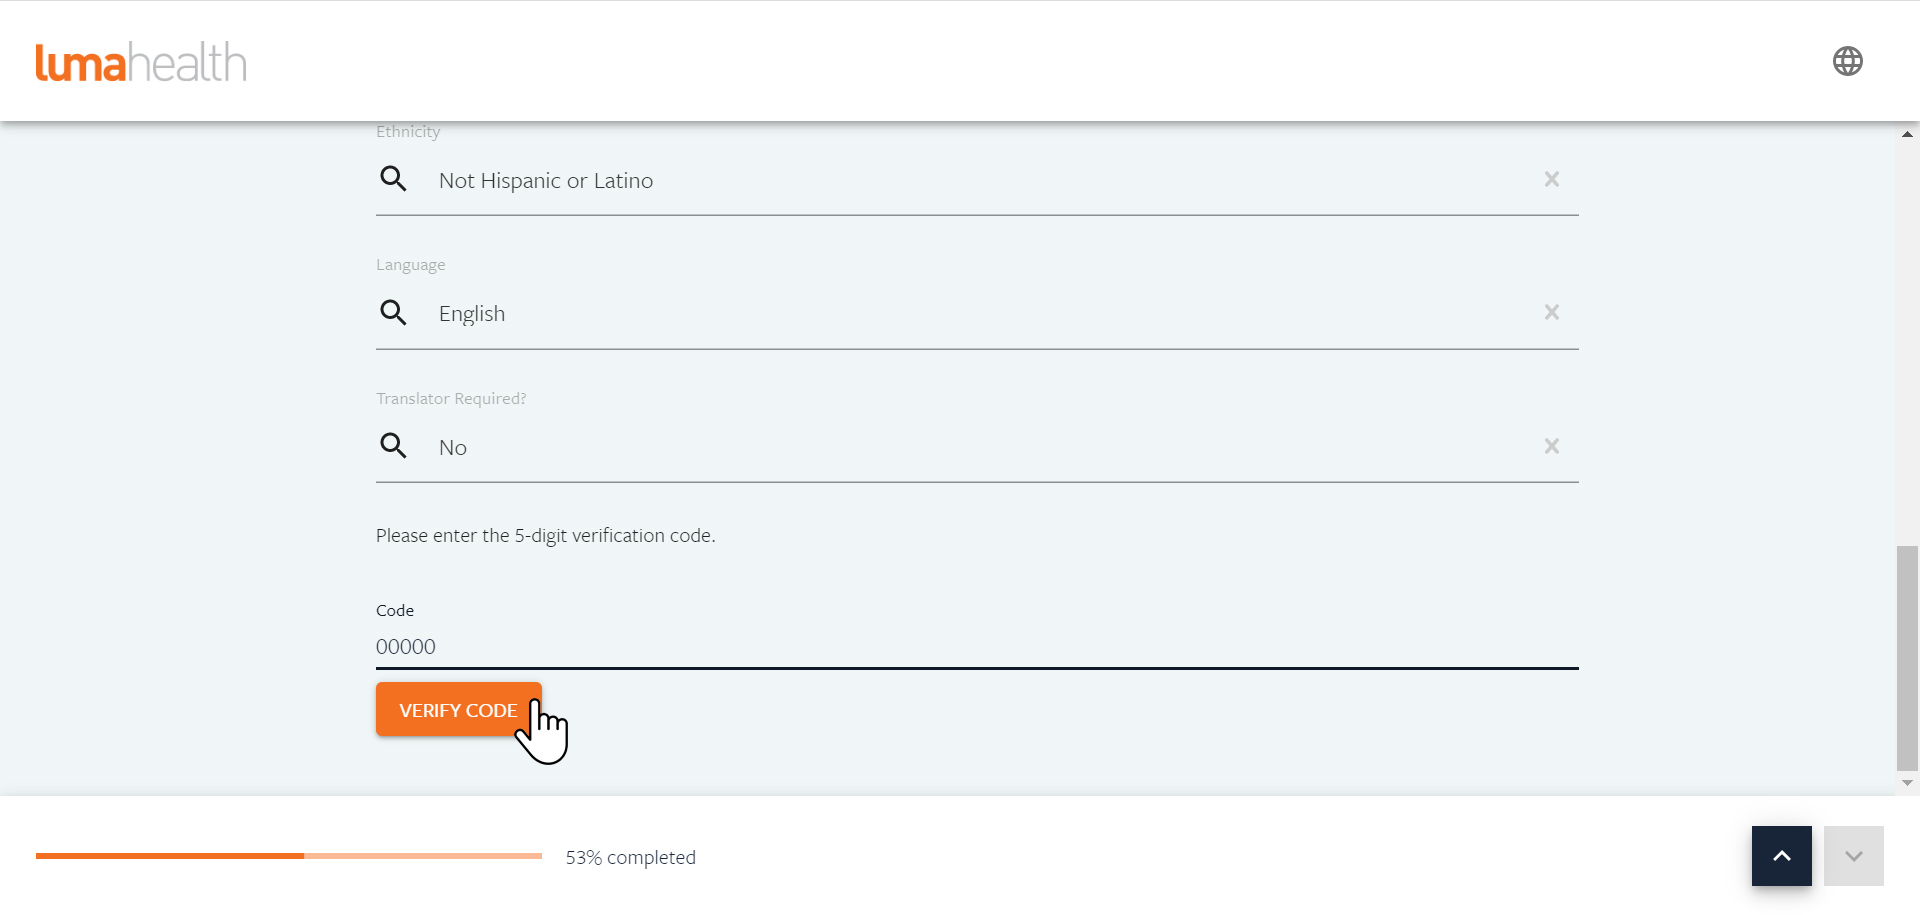 Verification only takes a moment. From there, you can proceed to booking your appointment.
 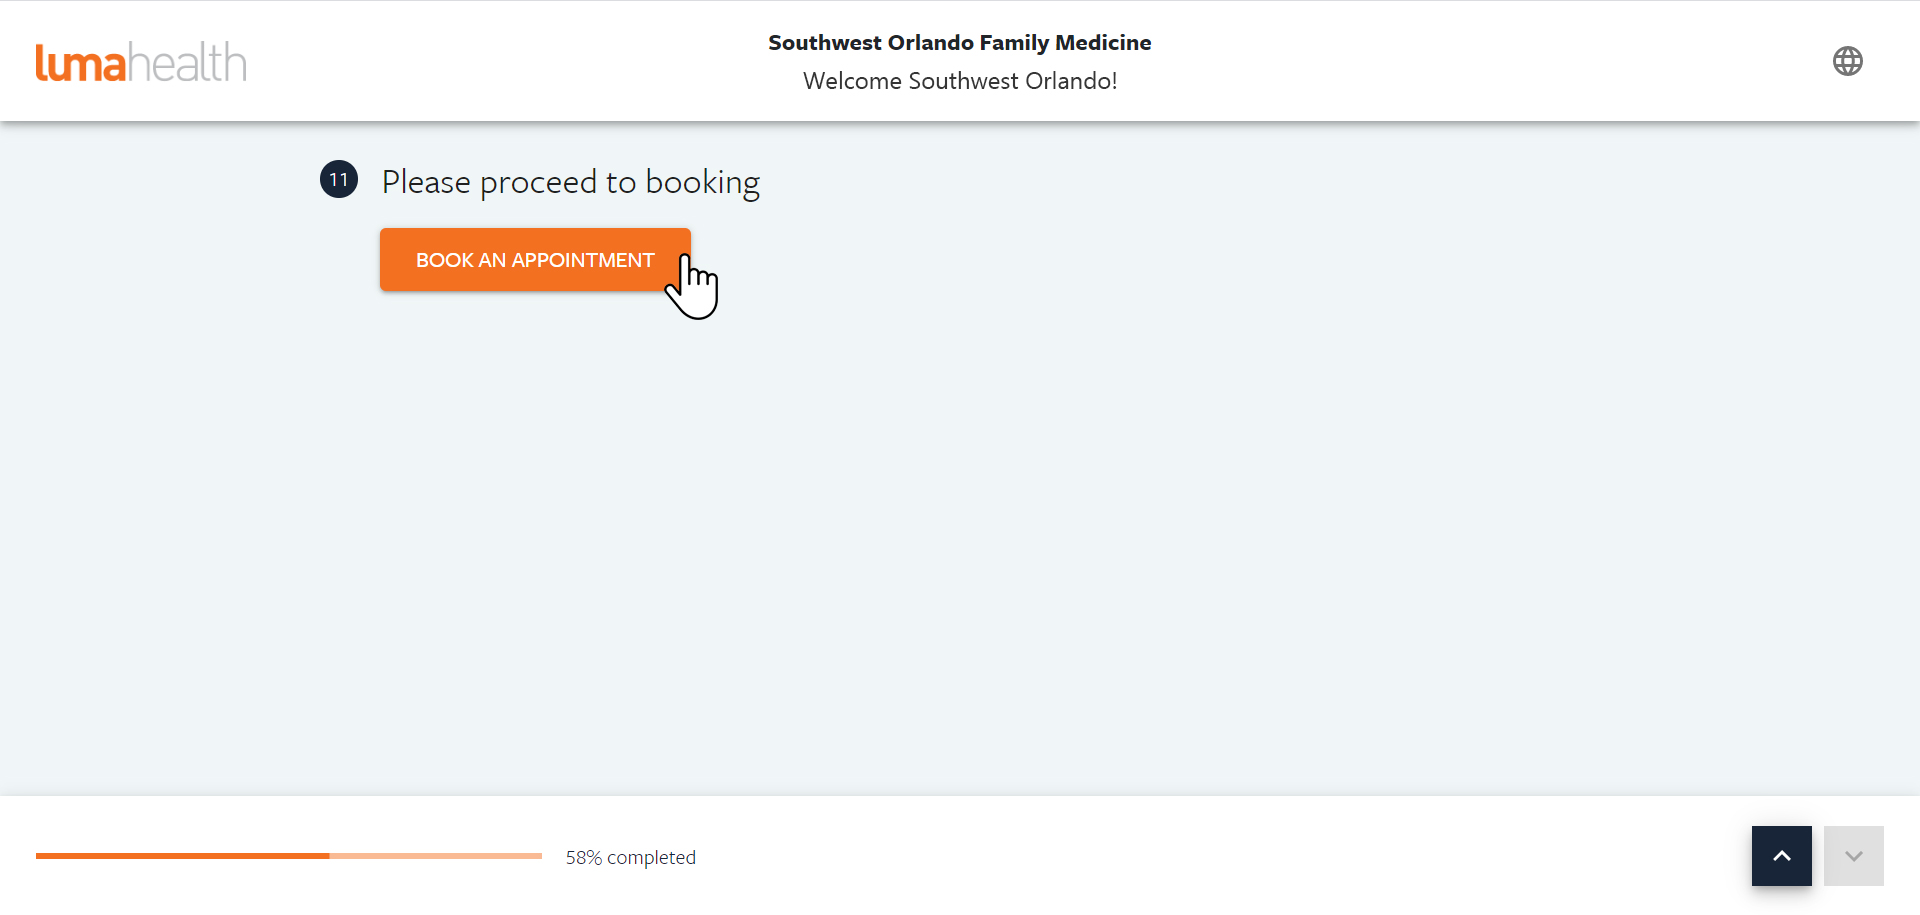 Once you select “Book An Appointment,” you will be able to review the available appointments and select the Clinician, day and time that work best for you.
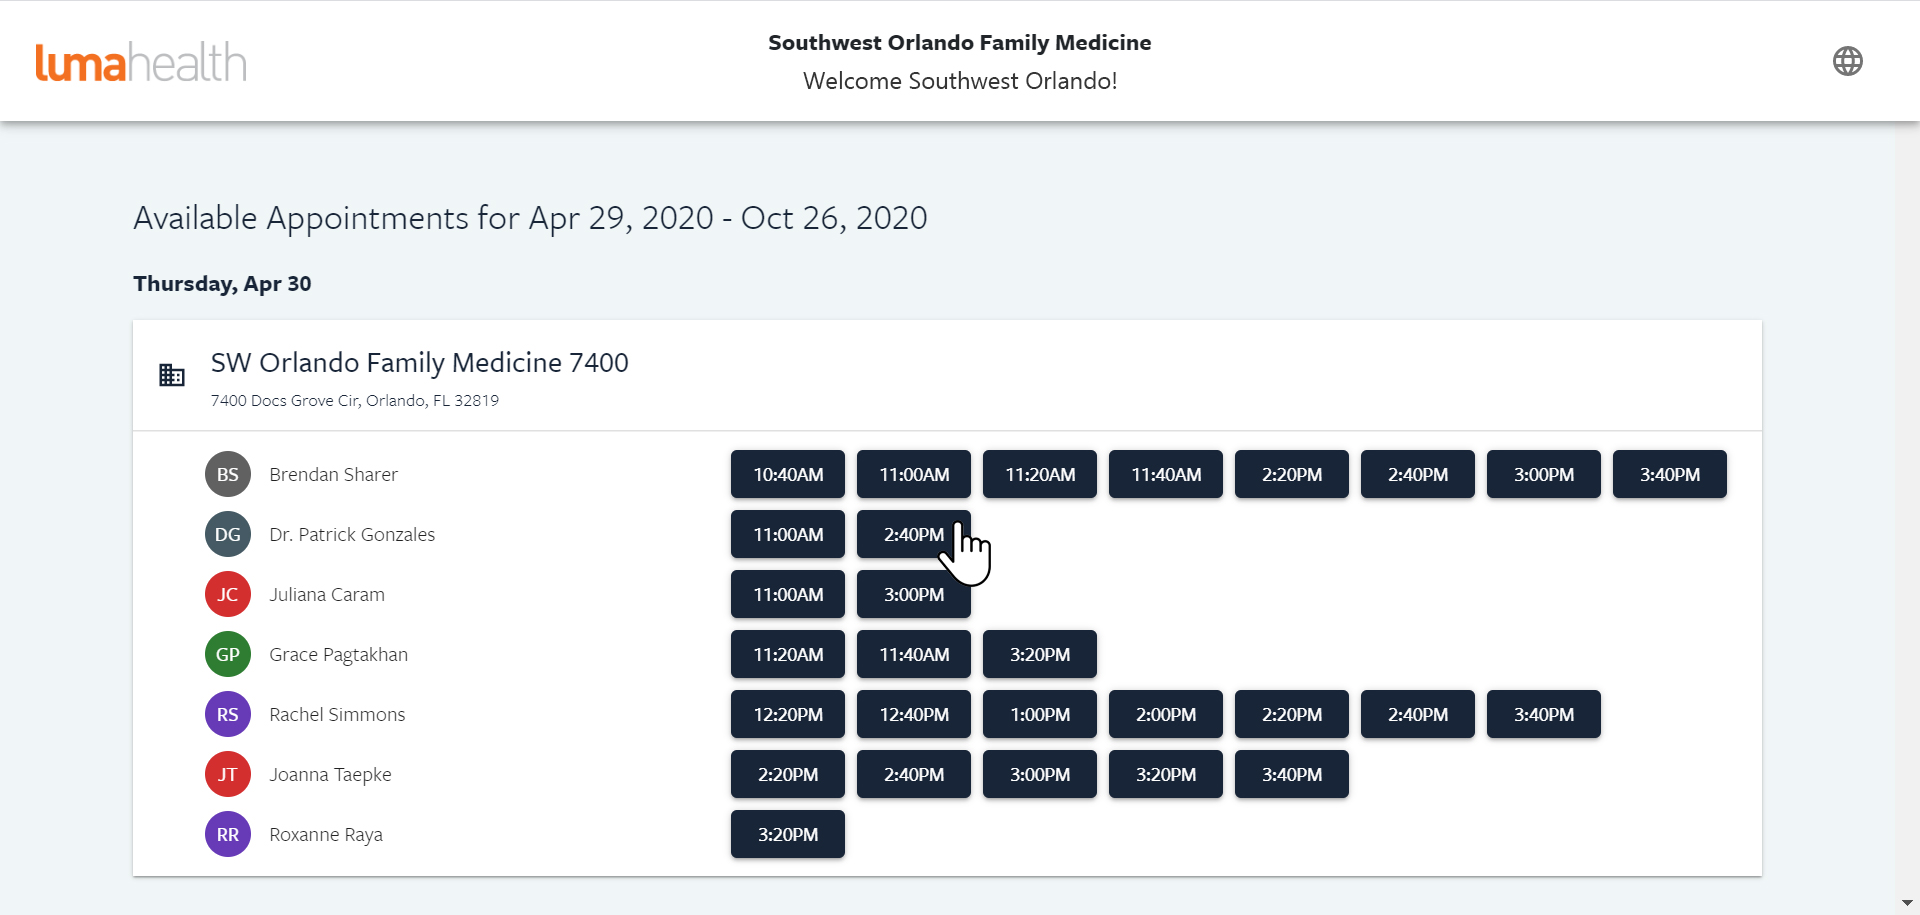
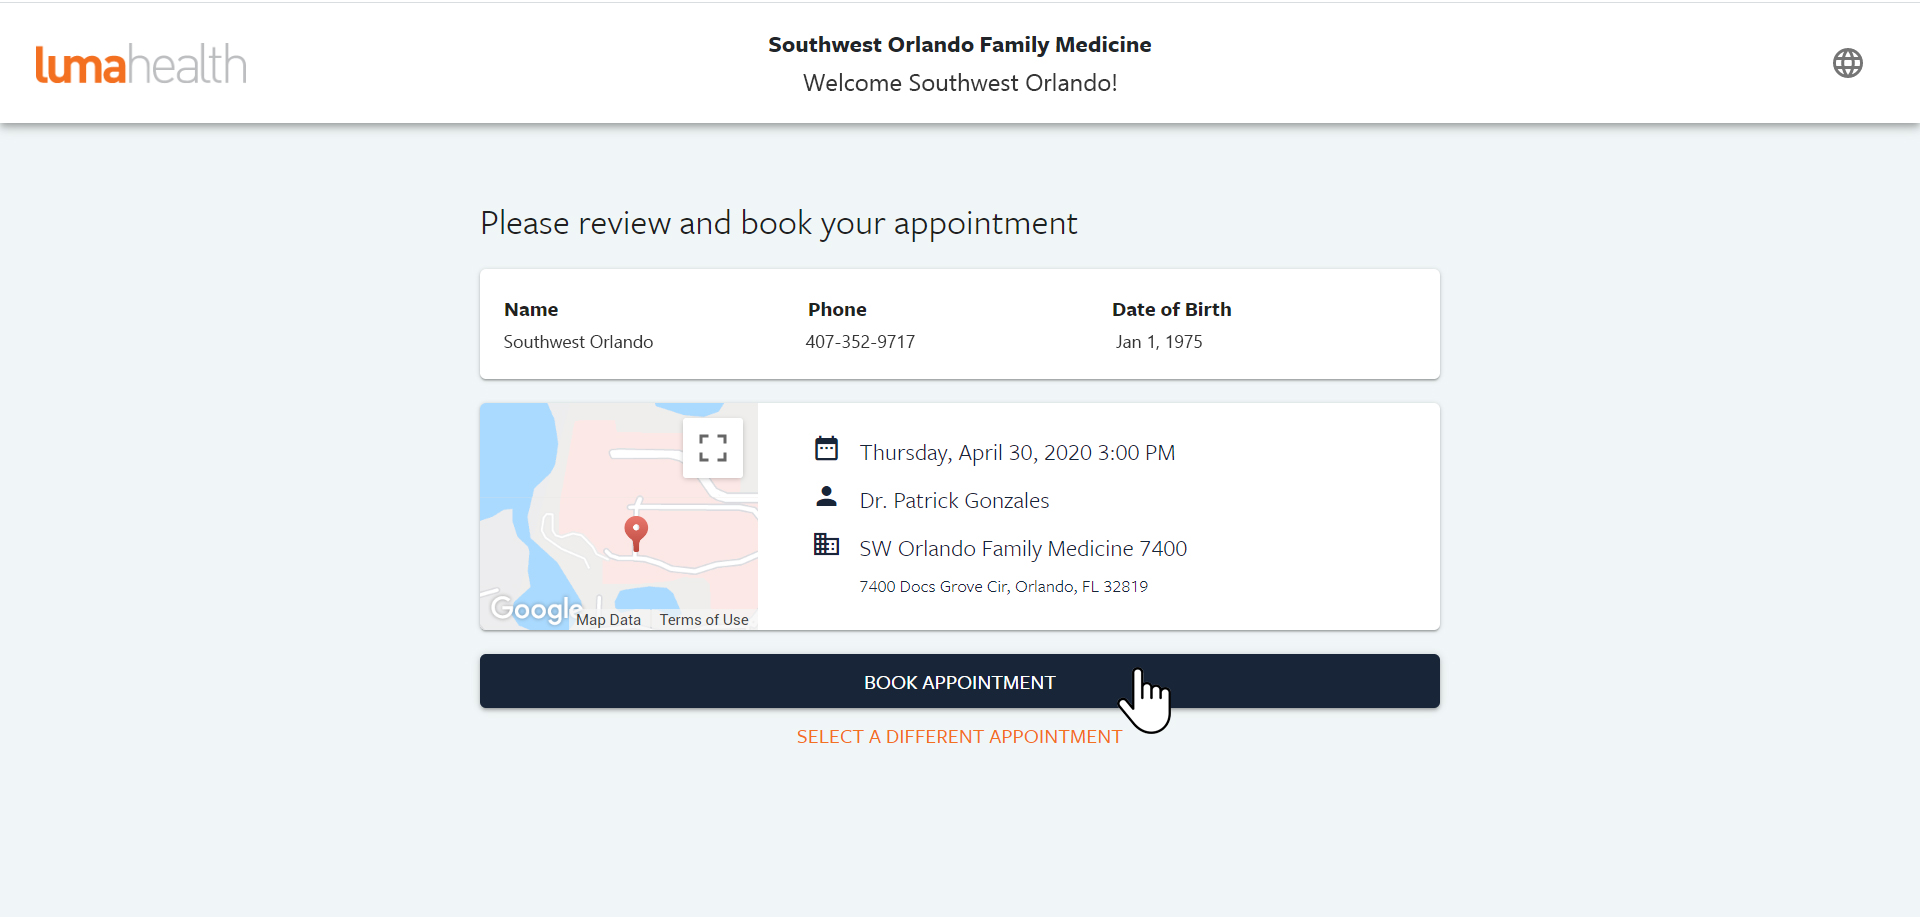
After selecting your appointment time, a confirmation page will show you all the details for your appointment. Click “Book Appointment” to schedule your appointment.
You will receive a confirmation message of your appointment request. After your request is sent, you will receive a confirmation message via text message or email to confirm that your appointment is accepted.
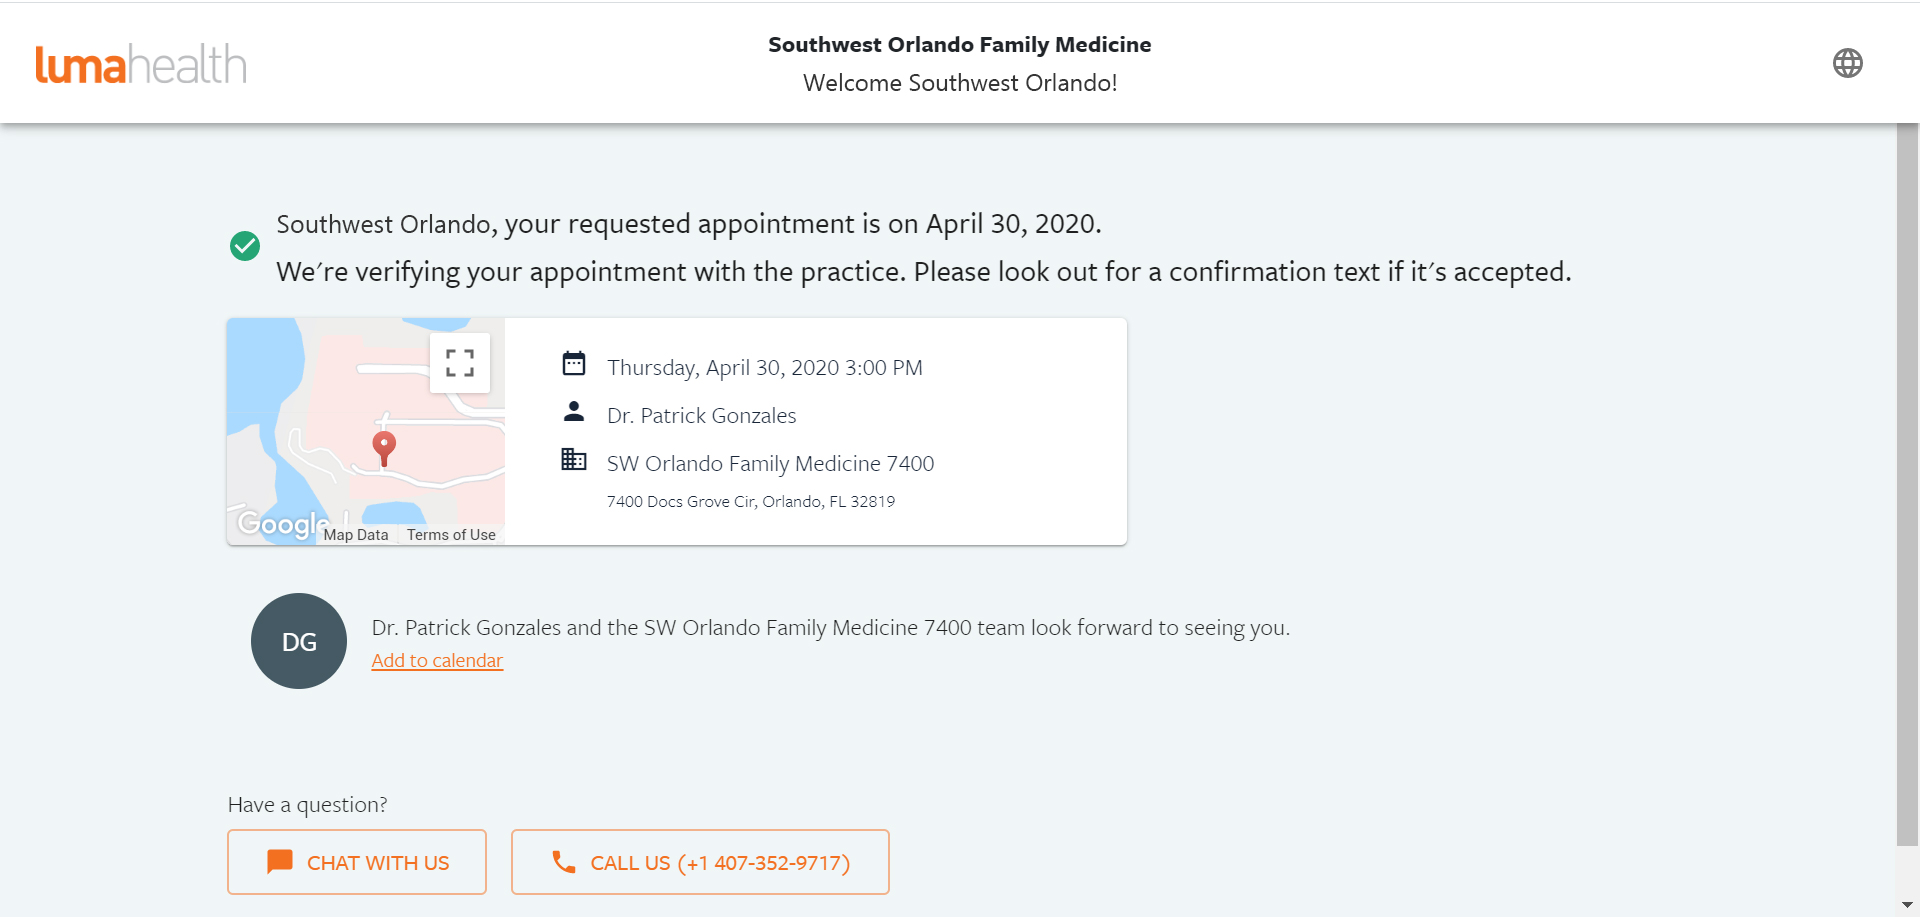
Once you receive a message that your appointment has been confirmed, you’re all set!
Online Booking Tutorial (Established Patients)
Online Booking Tutorial
For Established Patients, booking your next appointment takes only a few minutes! To get started, select the Book An Appointment button at the top of the page.
The Book Appointment button will open a new window. Select “Start” to begin.
Next, select I Am An Established Patient. You’ll notice the progress bar at the bottom of the application window, as well as arrows that allow you to go backwards or forwards if you need to change your response.
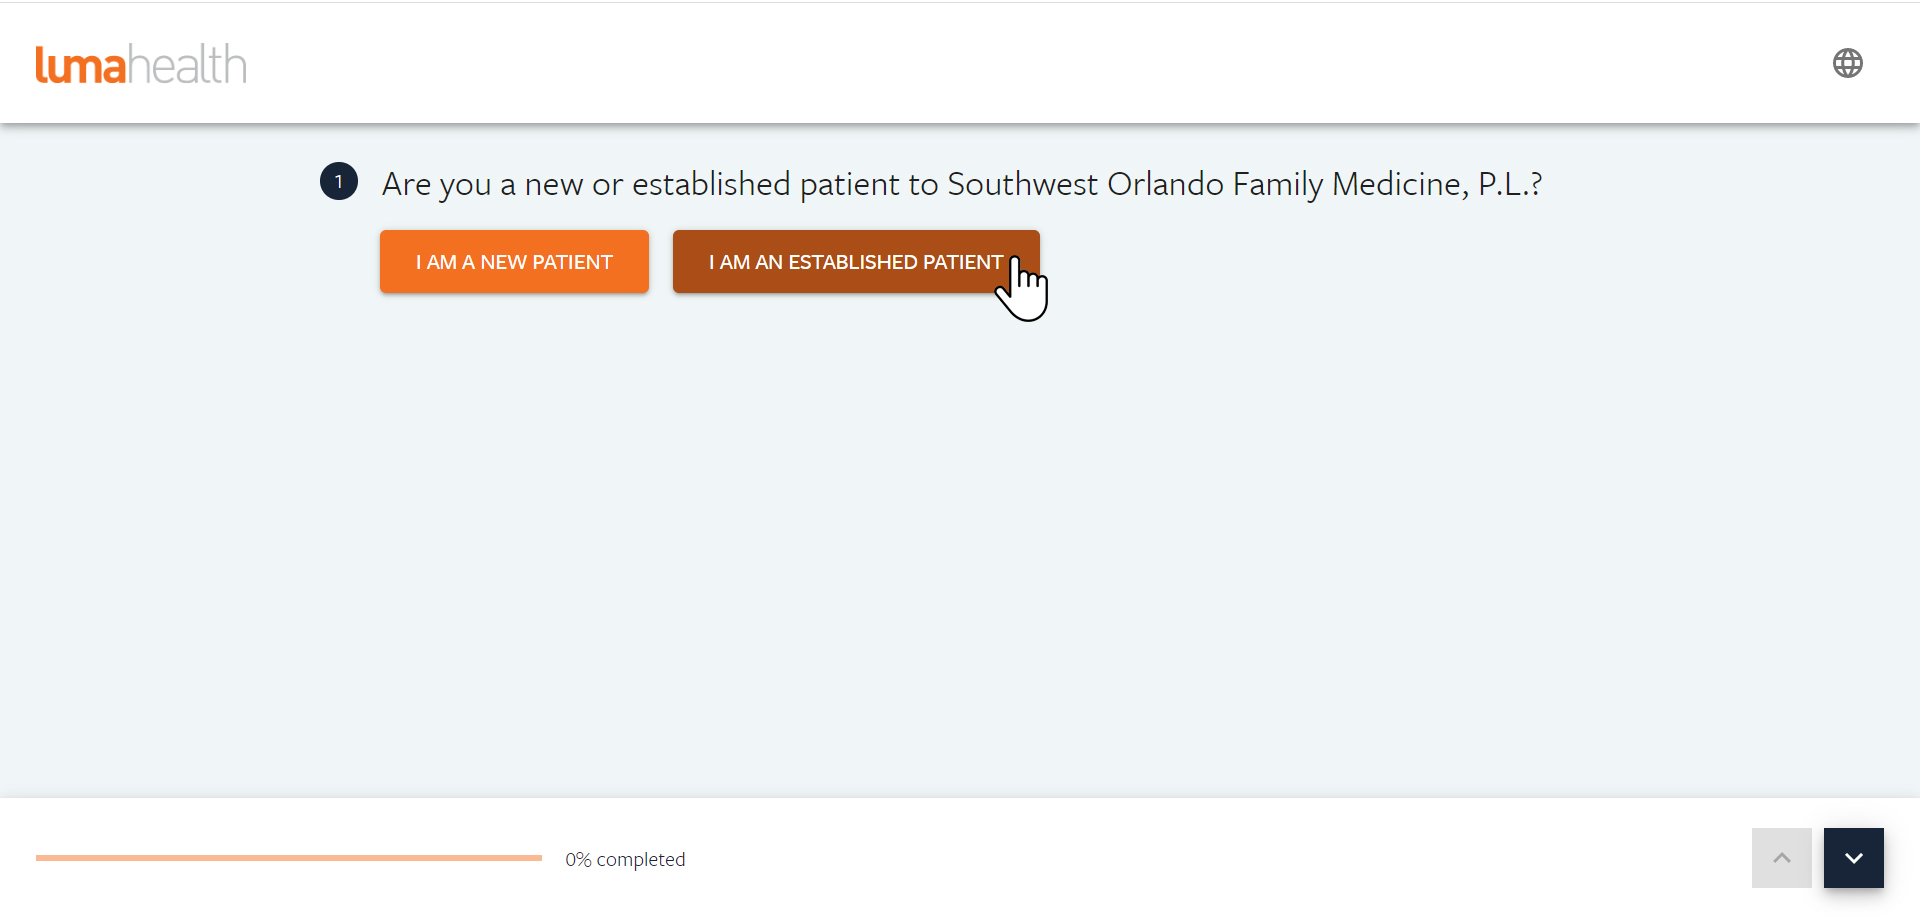 Not an Established Patient? That’s okay! Visit our Getting Started tutorial for how to set up your first appointment as a New Patient.
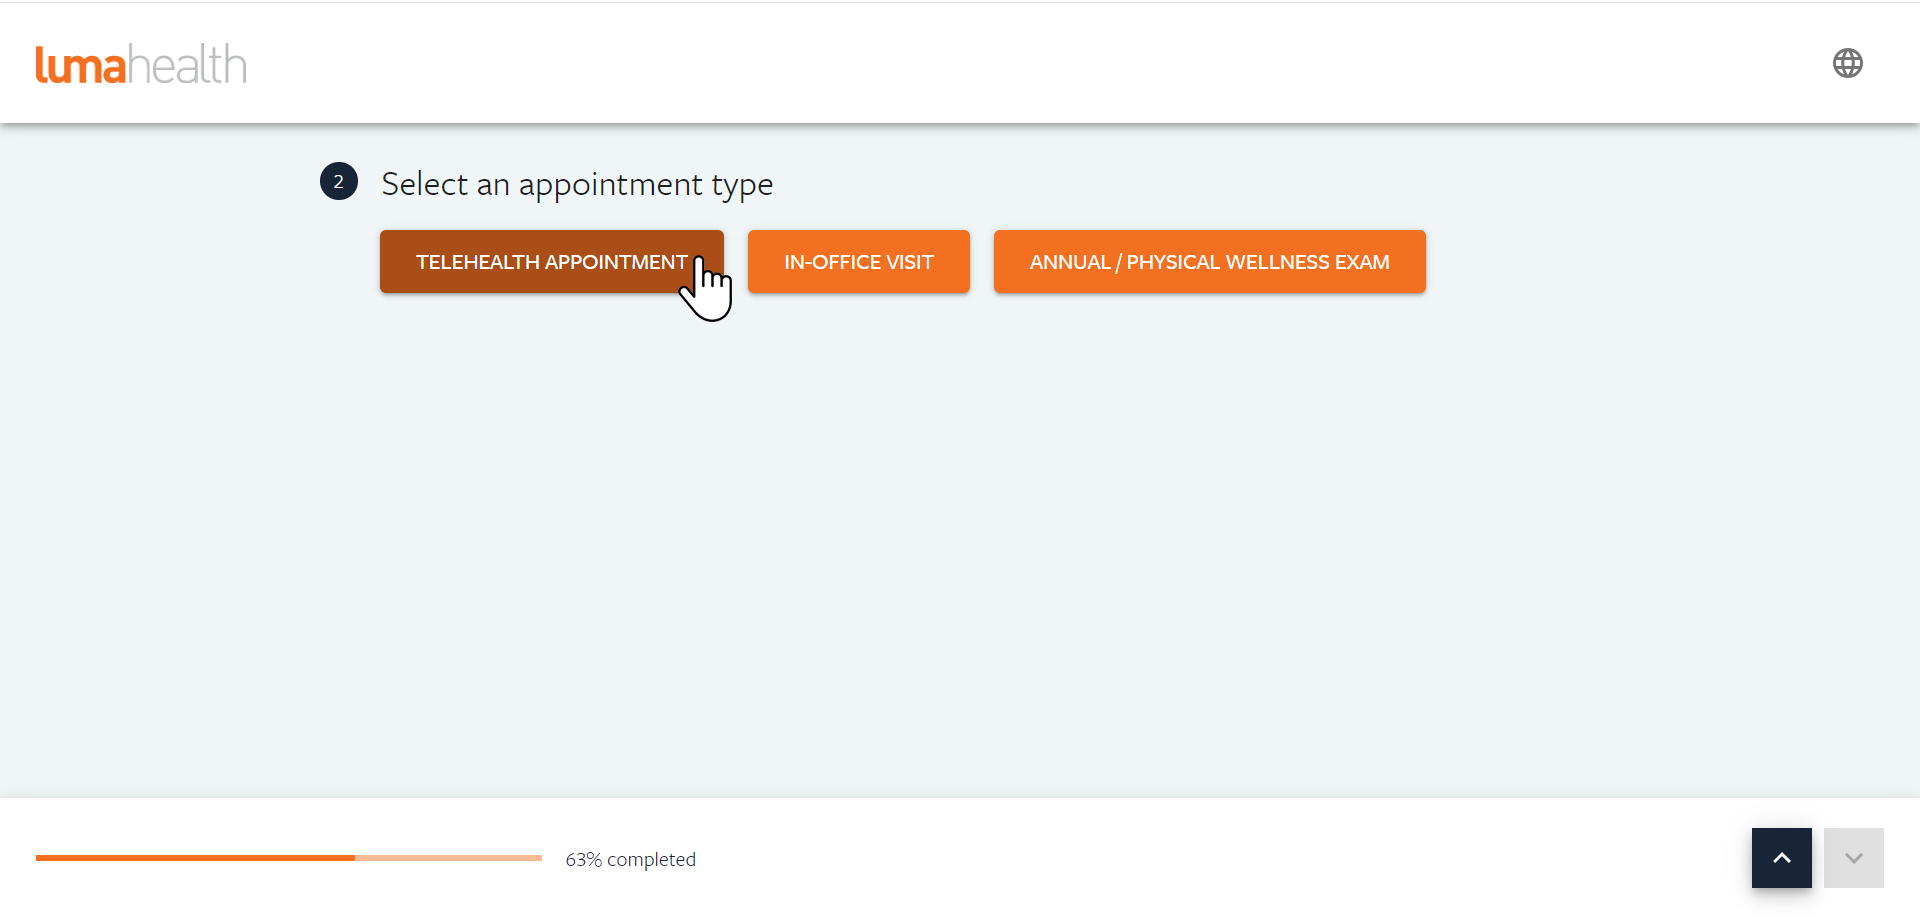
Established Patients can select a Telehealth Appointment, In-Office Visit or Annual/Physical Wellness Exam.
 After selecting your booking type, enter in the reason for your visit.
 Once you’ve entered in the reason for your visit, fill out your patient information: Name, Phone Number, and Date of Birth.
 Once you’ve entered your patient information, select the “I’m not a robot” checkbox and select the “Text Me the Code” button. You’ll receive a verification code by text message or email to confirm your details.
 Once you receive your verification code, type it in and select the “Verify Code” button.
Verification only takes a moment. Next, you can select your Clinician.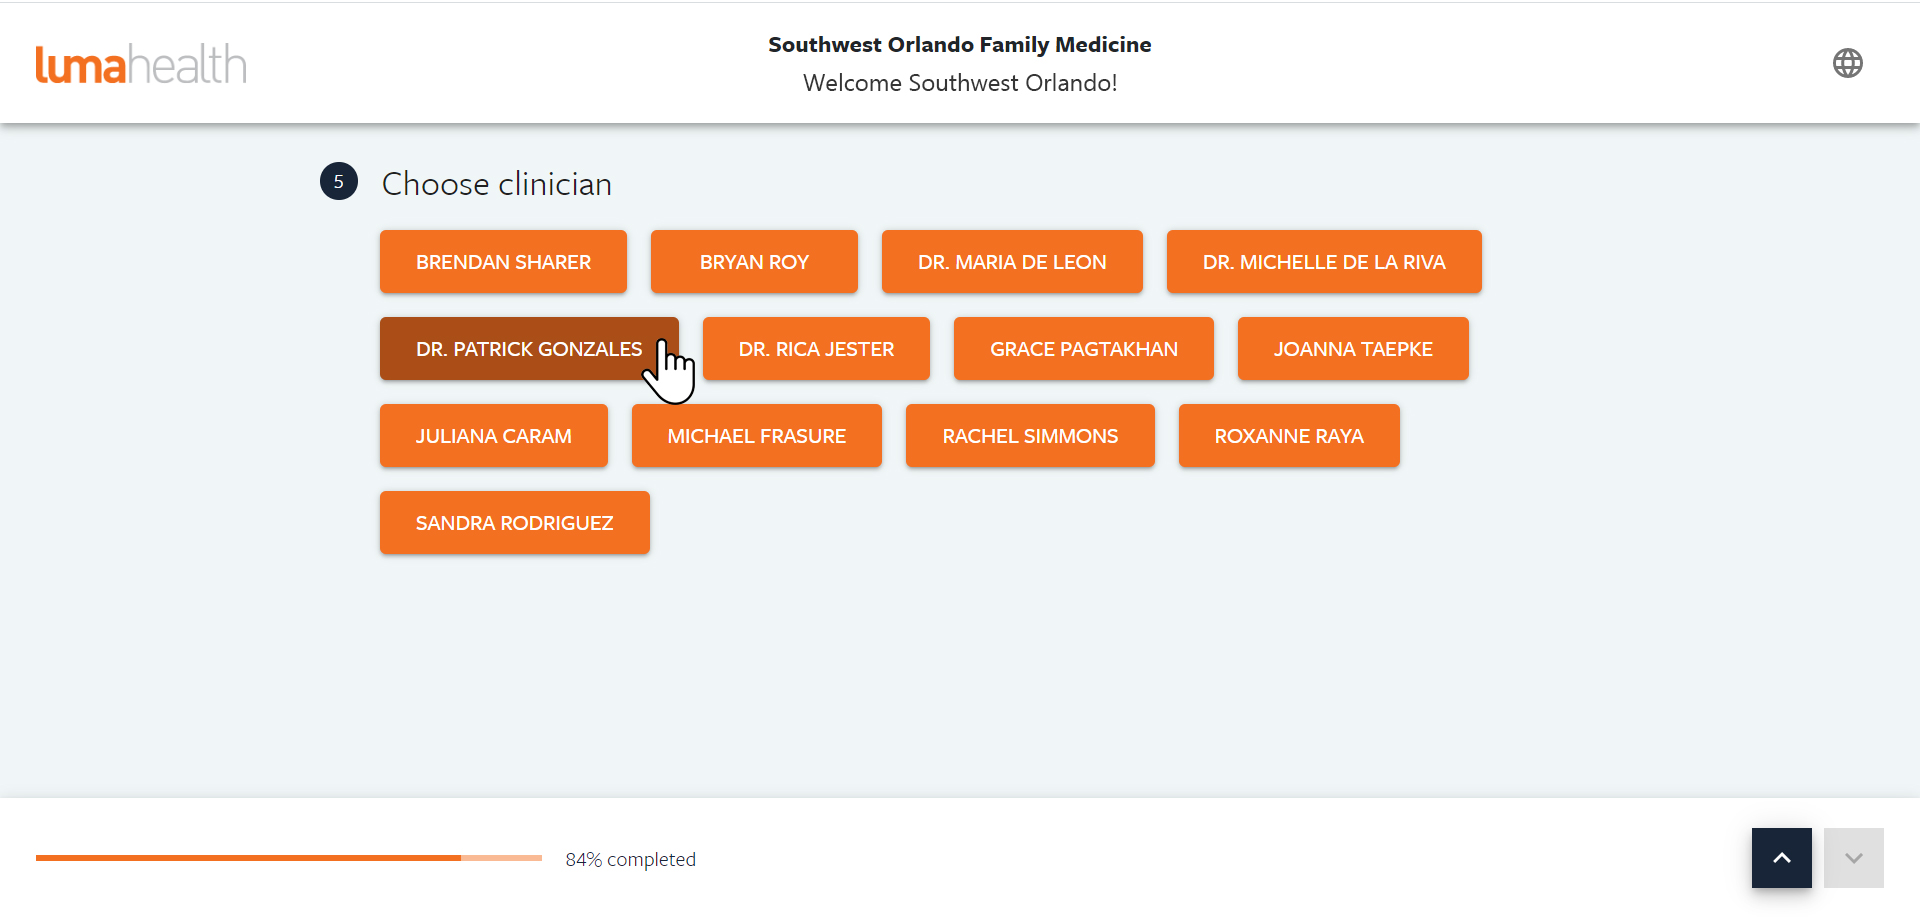 Once you’ve selected your Clinician, review the available appointments and select the day and time that work best for you.
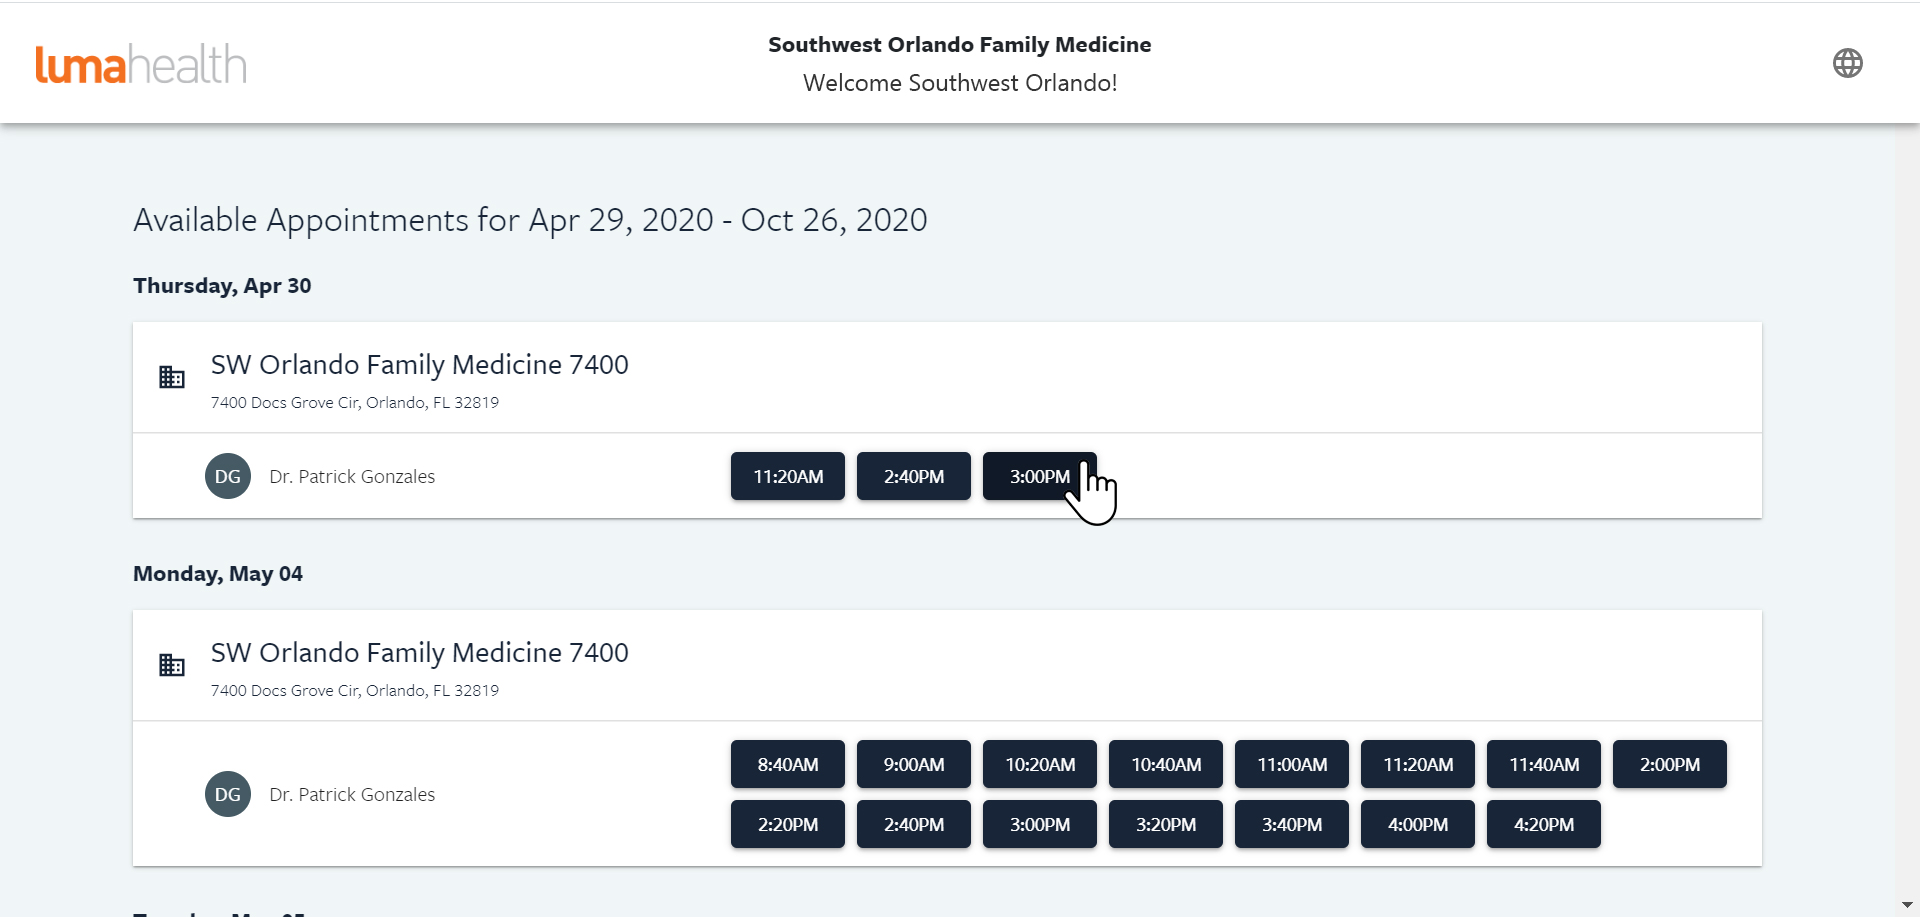 After selecting your appointment time, a confirmation page will show you all the details for your appointment. Click “Book Appointment” to schedule your appointment.
You will receive a confirmation message of your appointment request. After your request is sent, you will receive a confirmation message via text message or email to confirm that your appointment is accepted.
Once you receive a message that your appointment has been confirmed, you’re all set!
Healow Tracker Tutorial
Healow Tracker Tutorial
During the course of your care with Southwest Orlando Family Medicine, your Clinical Team may ask you to input your health information into Healow on a daily, weekly, or monthly basis. Tracking your health information with the Healow App helps your Clinical Team better understand your lifestyle so they can provide individualized care based on your health needs. Whether you are tracking your daily steps, heart rate, blood pressure or more, you can do it through the Healow App.
Healow Trackers give you the ability to track your health information on a regular basis. Your Clinical Team will be able to review the data you add during your appointments or when needed. You can track your information manually or through a smart watch or fitness device. We’ll review step-by-step instructions on each method below as well as how to view your information and what fitness devices are compatible with the Healow App.
How to Manually Track Your Health Information in Healow
If your Clinical Team has advised you to track your health information (steps, heart rate, blood pressure, BMI, sleep, etc), follow these step-by-step instructions on how to manually track your health information in Healow.
- Open your Healow smart phone app and select the Trackers button.
- Select the Add Trackers button.
- Select the type of health information you are going to track at the bottom, using the arrows or swiping. Once you have selected (in this example, we selected Blood Pressure), select the Track Manually button.
- Input your health information into the tracking form and select the Add button.
It’s that simple! Once you’ve started tracking your health information, you and your clinician will be able to review your records.
Note: If you have immediate concerns about a particular reading that you are tracking – please send your clinician a message in the Healow App or Patient Portal to direct their attention to your records.
![]()
How to Connect Your Fitness Device to Healow
Did you know you can sync your smart watch or fitness device to the Healow app? Connect your fitness device directly to Healow to upload your health information automatically. Keeping track has never been easier! If your Clinical Team has advised you to track your health information (steps, heart rate, blood pressure, BMI, sleep, etc), simply follow the step-by-step instructions below to connect your device to Healow.
![]()
- Open your Healow smart phone app and select the Trackers button.
- Select the Add Trackers button to connect your device.
- If you don’t already have a health tracking device, you can review your options and purchase your device directly through the app. If you already have a device, select the Setup My Device button.
- Choose from the menu to find the fitness device you are using and select the Connect button.
Once you follow the steps, you’ll be prompted on connected and authorizing your device to send your tracking information directly to Healow. It really is that easy!
How to Review Your Health Information in Healow
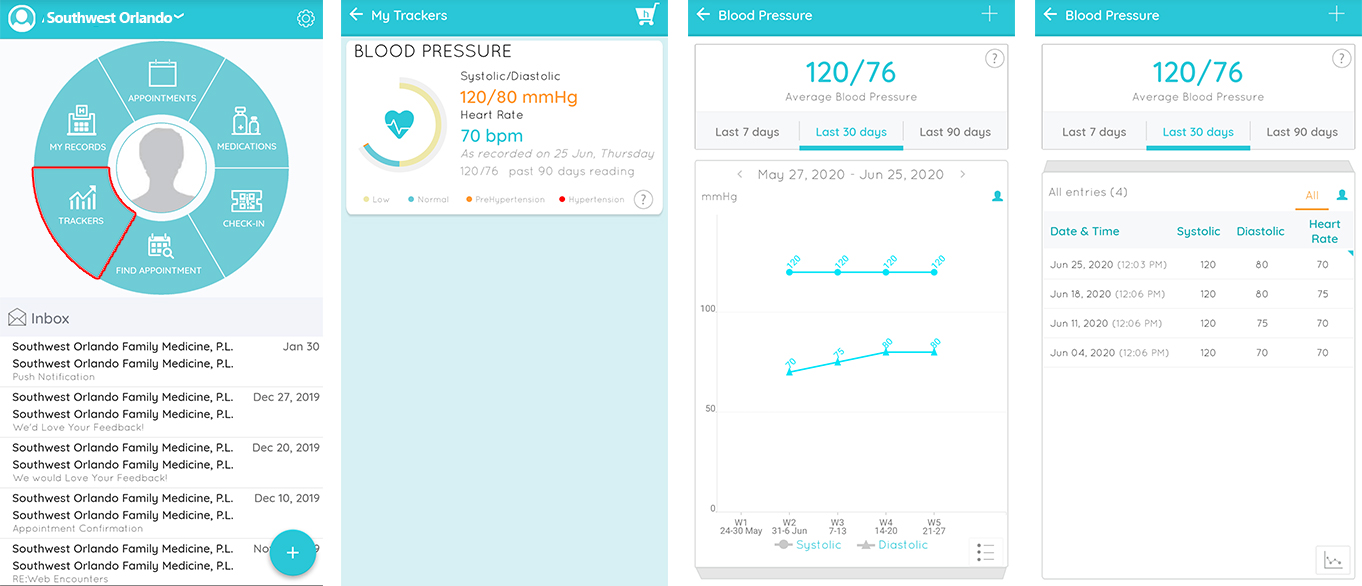
Once you’ve added tracking information into the Healow App, you can access that information in the Trackers section of the app.
- Open your Healow smart phone app and select the Trackers button.
- Your health information will automatically show up on the main Trackers page.
- Select the tracker (in this example, Blood Pressure) to view more detailed information.
- Choose between chart or list mode to review your health information.
What Fitness Devices Connect to Healow
If you don’t have a smart app or fitness device and would like to get one, take a look at the list below to learn more about what apps and devices work with Healow. It’s helpful to keep in mind what health information your Clinical Team wants you to track when selecting a device. Withings and iHealth have the most tracking capabilities, while FitBit and GoogleHealth (the heart icon) are some of the most popular. We encourage you to learn more before selecting your tracker – just be sure to connect it to Healow once you do!
![]()
TeleHealth Appointment Tutorial
TeleHealth Appointment Tutorial
For Established Patients who have an upcoming TeleHealth Appointment, follow this step-by-step tutorial guide on how to prepare for your appointment.
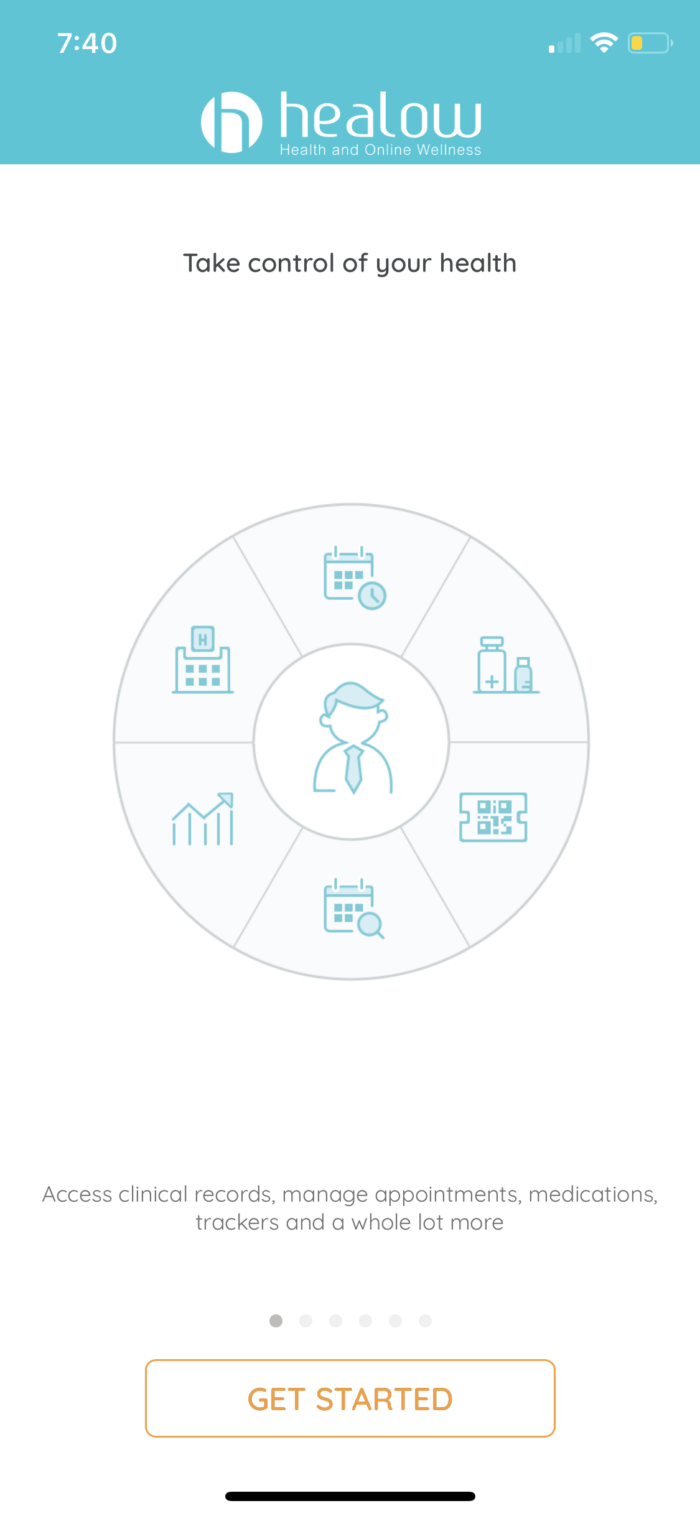
Step 1: Download the Healow App from the Apple App Store or Google Play

Step 2: Allow Healow to Send Notifications and Select the “Get Started” button
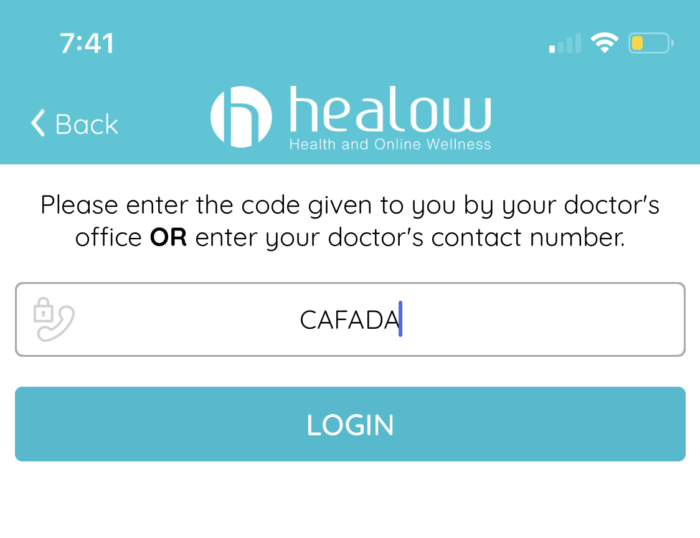
Step 3: Enter our Practice Code: CAFADA
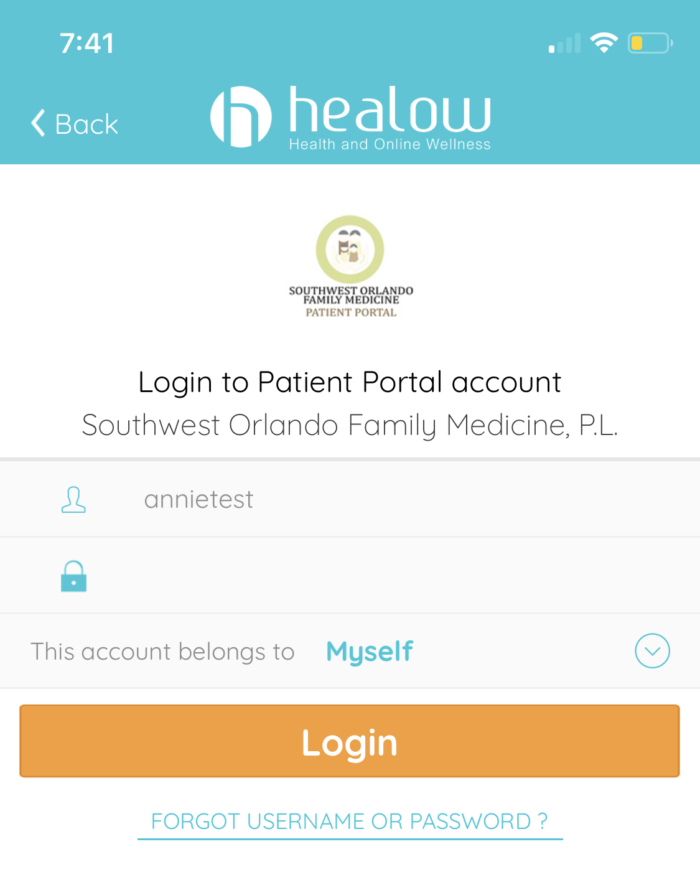
Step 4: Login to Healow using your Patient Portal account information.
If you don’t remember your username and password, select “Forgot Username or Password?” and follow the prompts to log in.
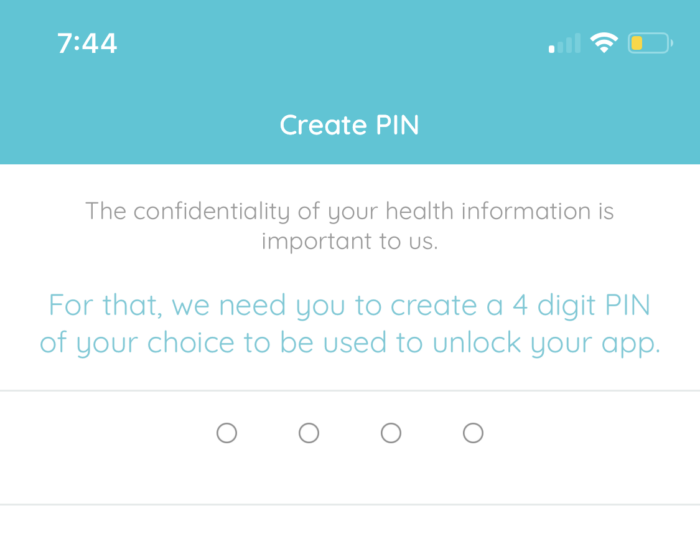
Step 5: Create a PIN for easy access to the Healow App.
If your phone has a biometric scanner, you can set up your fingerprint for future log ins.
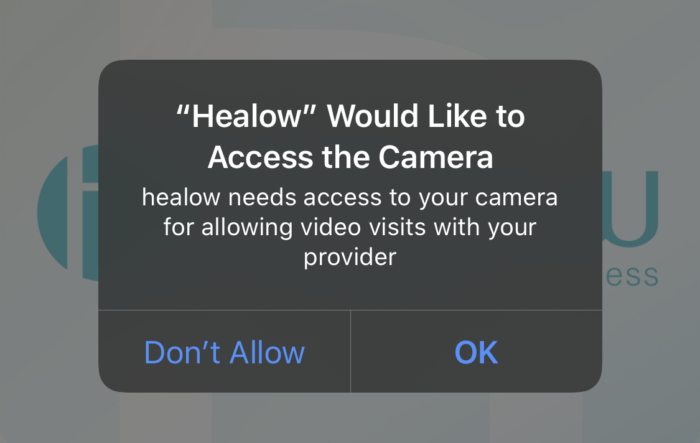
Step 6: Allow Healow to access your camera and microphone
Step 7: Select Appointments to locate your upcoming TeleHealth Appointment.
Watch this short video below on what to do once you select your TeleHealth Appointment.
Once you are in the waiting room, do not leave. Your clinician will join the call momentarily.
Patient Portal Tutorial
Patient Portal Tutorial
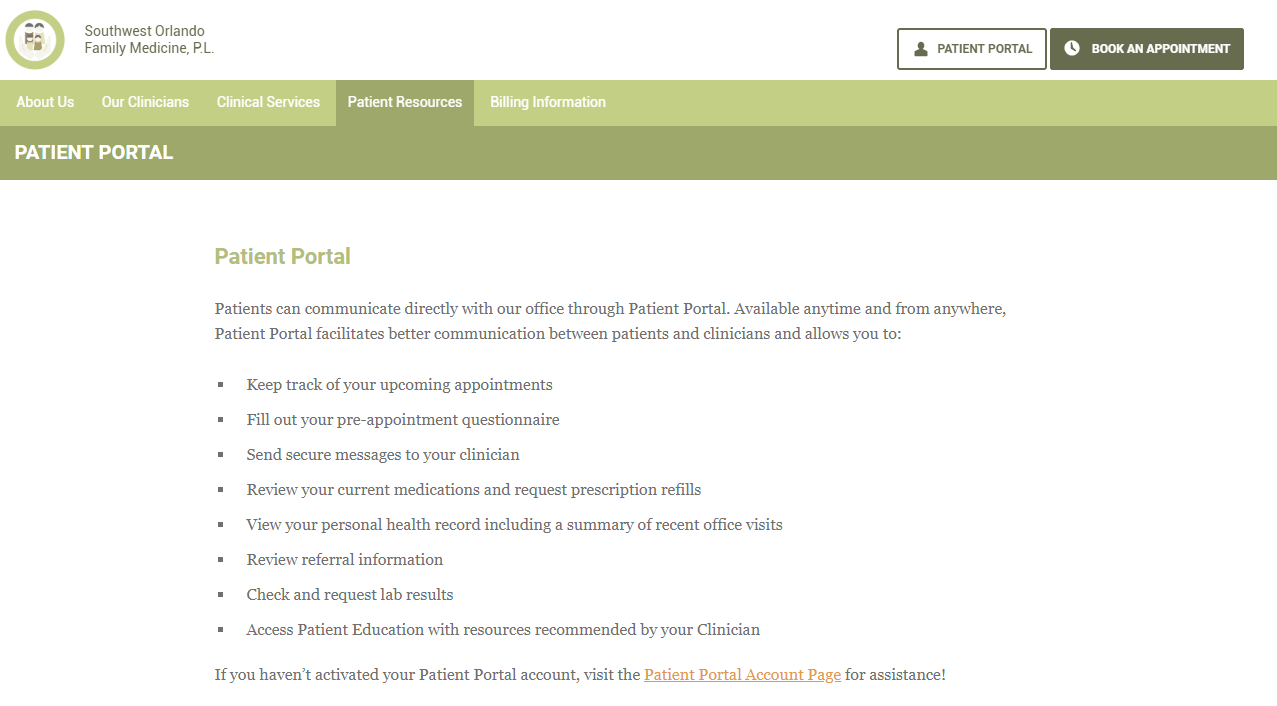
Welcome to Patient Portal! Accessing your records, visit summaries, referrals, lab results, and prescription refill requests is fast and easy with the Patient Portal.
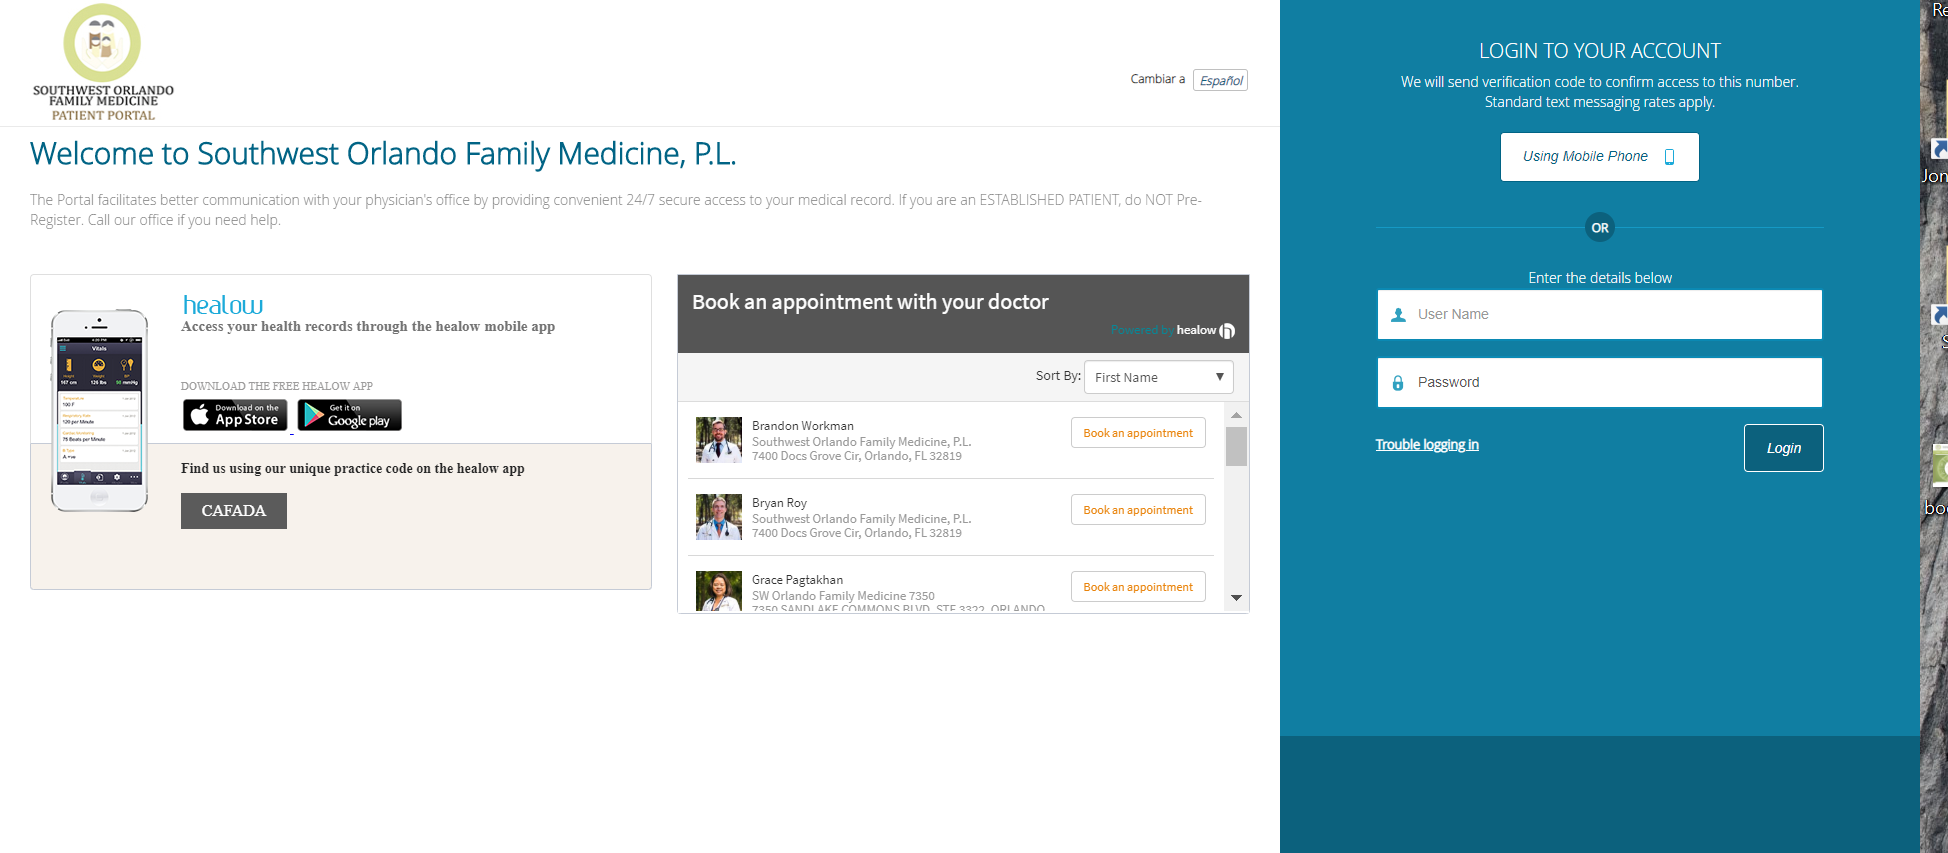
Go to www.swofm.com and select the Patient Portal button on the top right of our website to be redirected to the Patient Portal Login page.
Enter your user name and password and click Login to access your Patient Portal account.
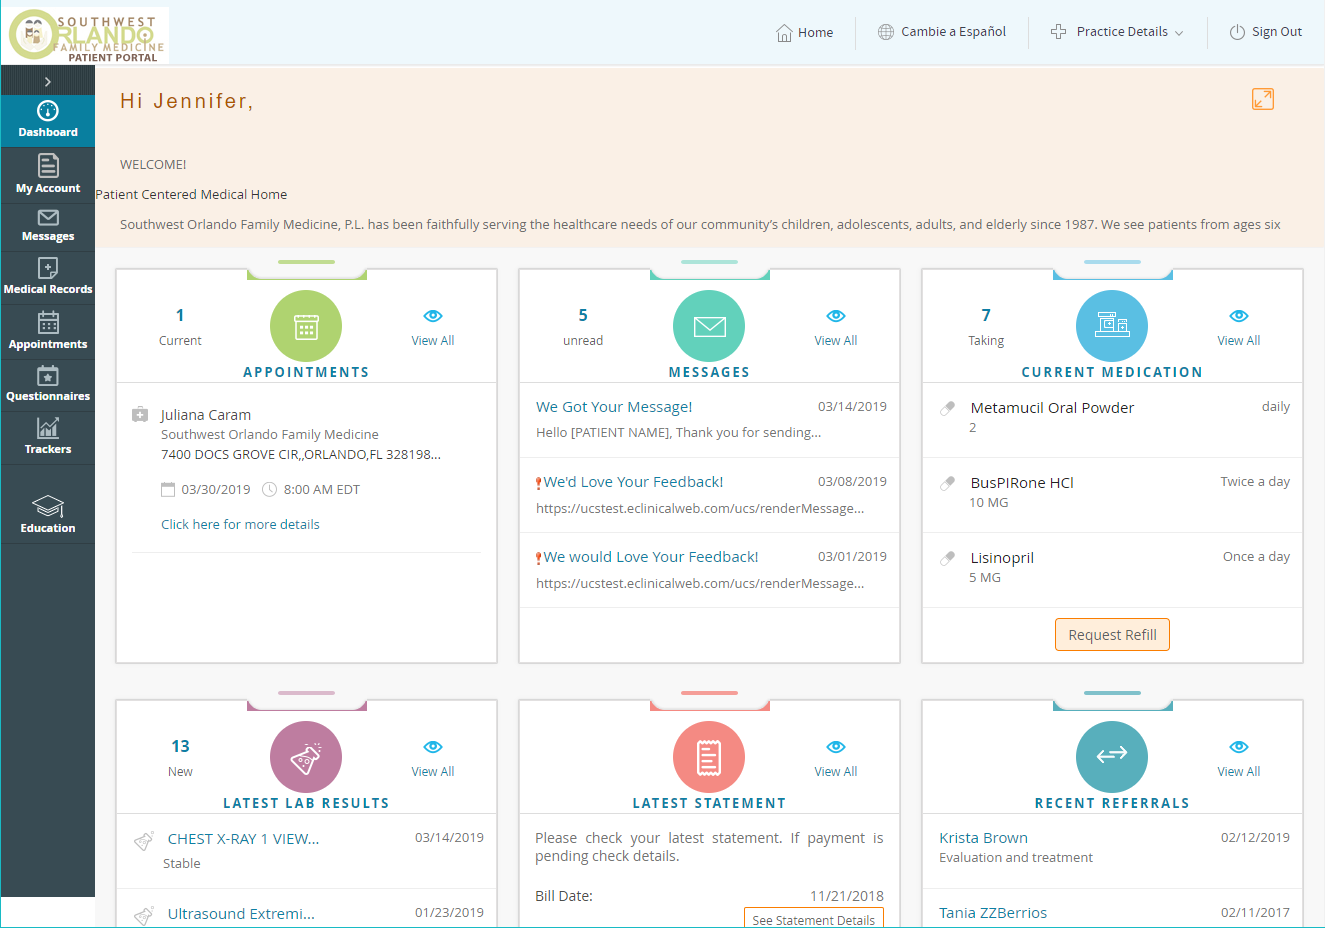
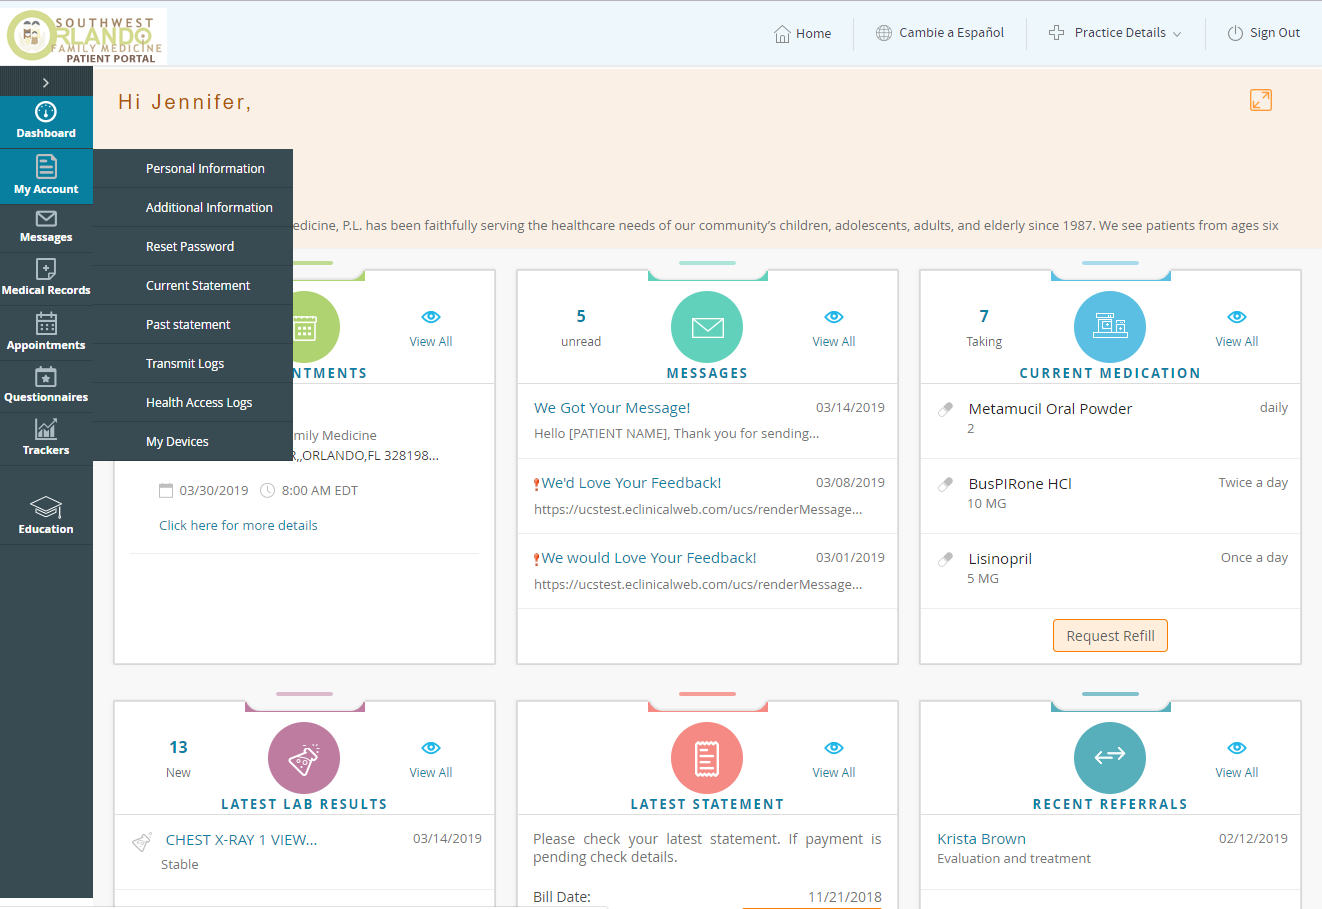
Once you’ve logged into your Patient Portal, you’ll have access to your Dashboard, giving you an overview of your appointments, messages, medications, lab results, medical records, and more. You can navigate to these various pages on the Dashboard or with the menu on the left side of your page.
Dashboard
Next, we’ll review each of the Menu options below. Click on a menu name to jump to that tutorial:
My Account, Messages, Medical Records, Appointments, Questionnaires, Trackers, Education.
My Account
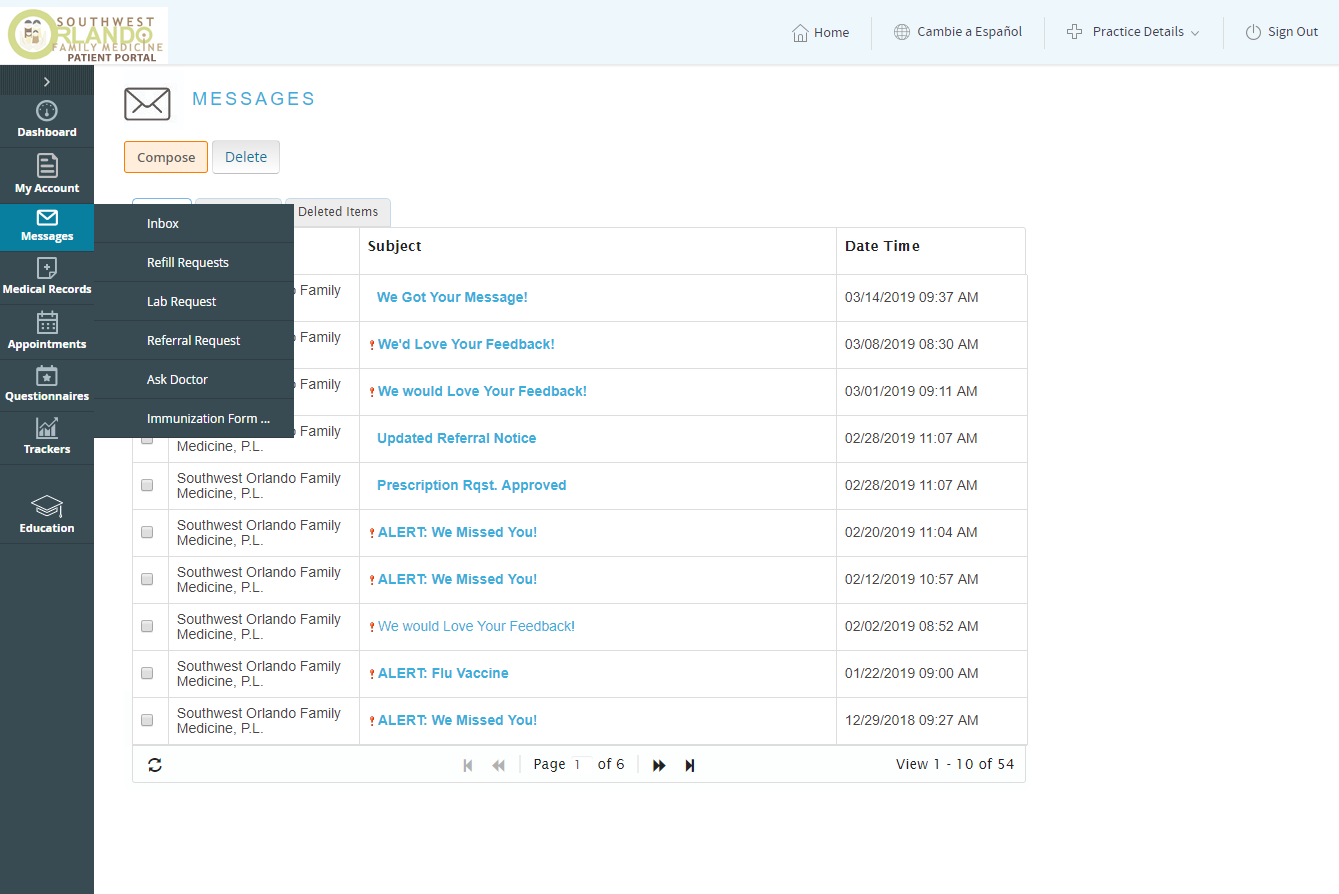
Messages
Medical Records
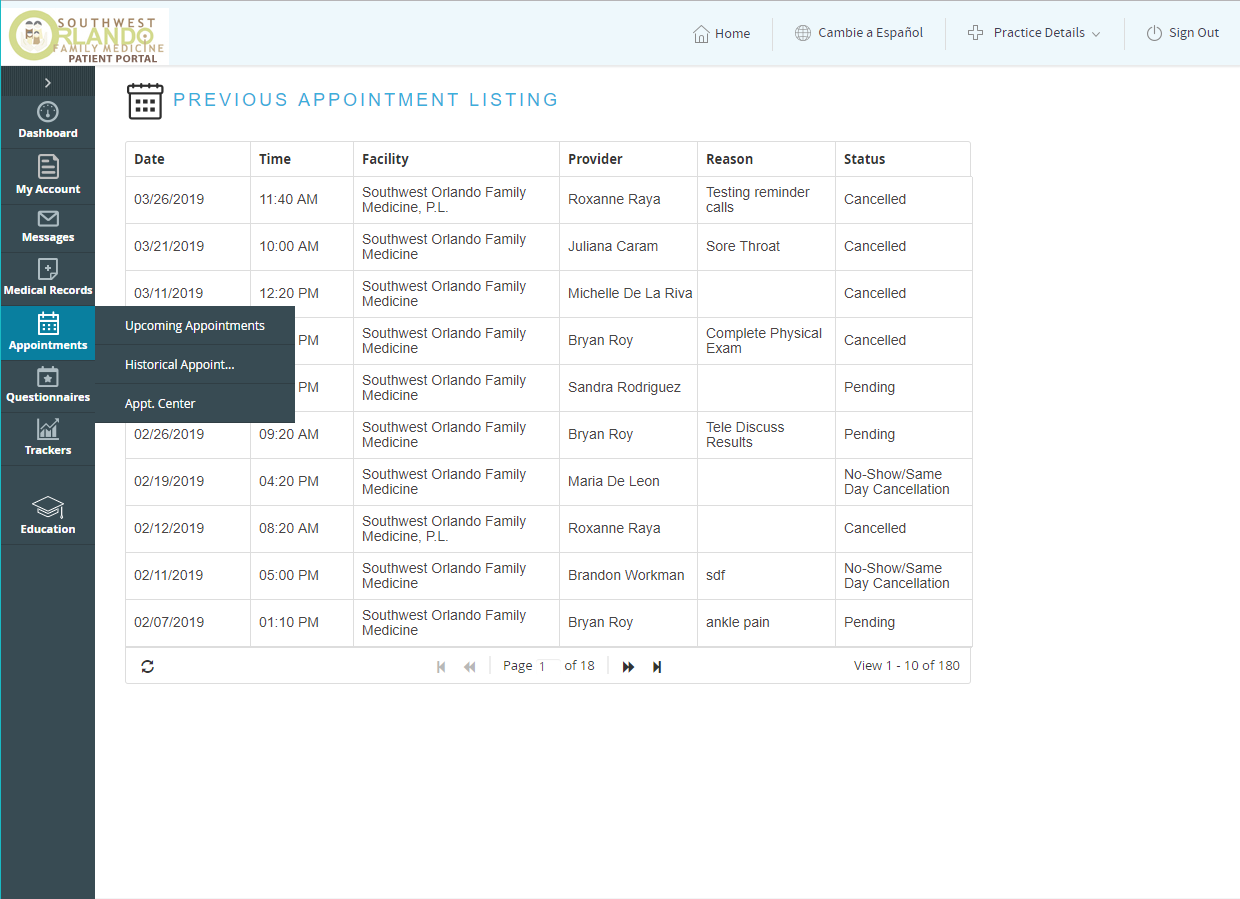
Appointments
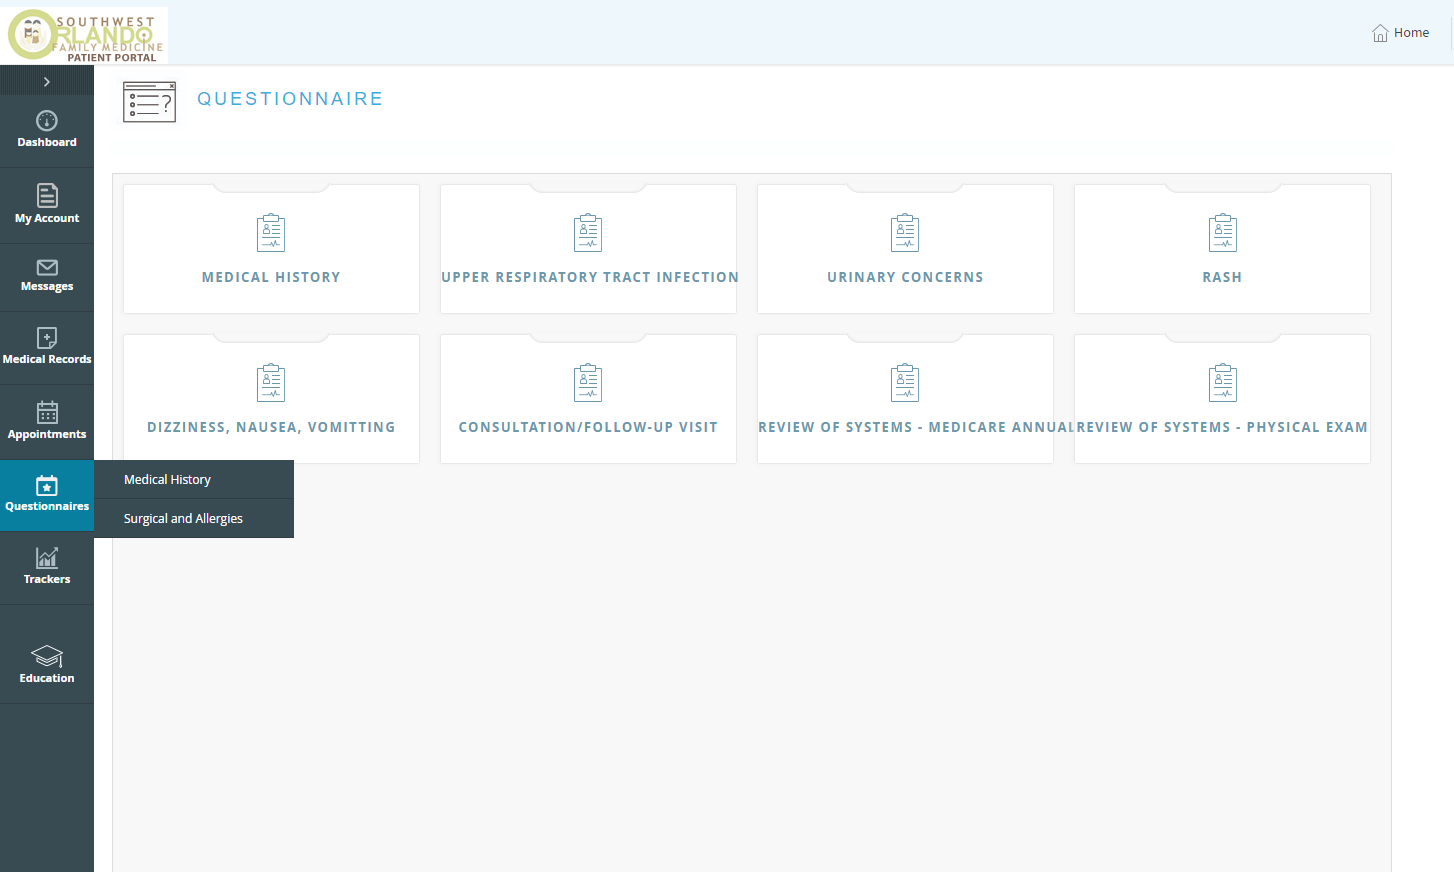
Questionnaires
Trackers
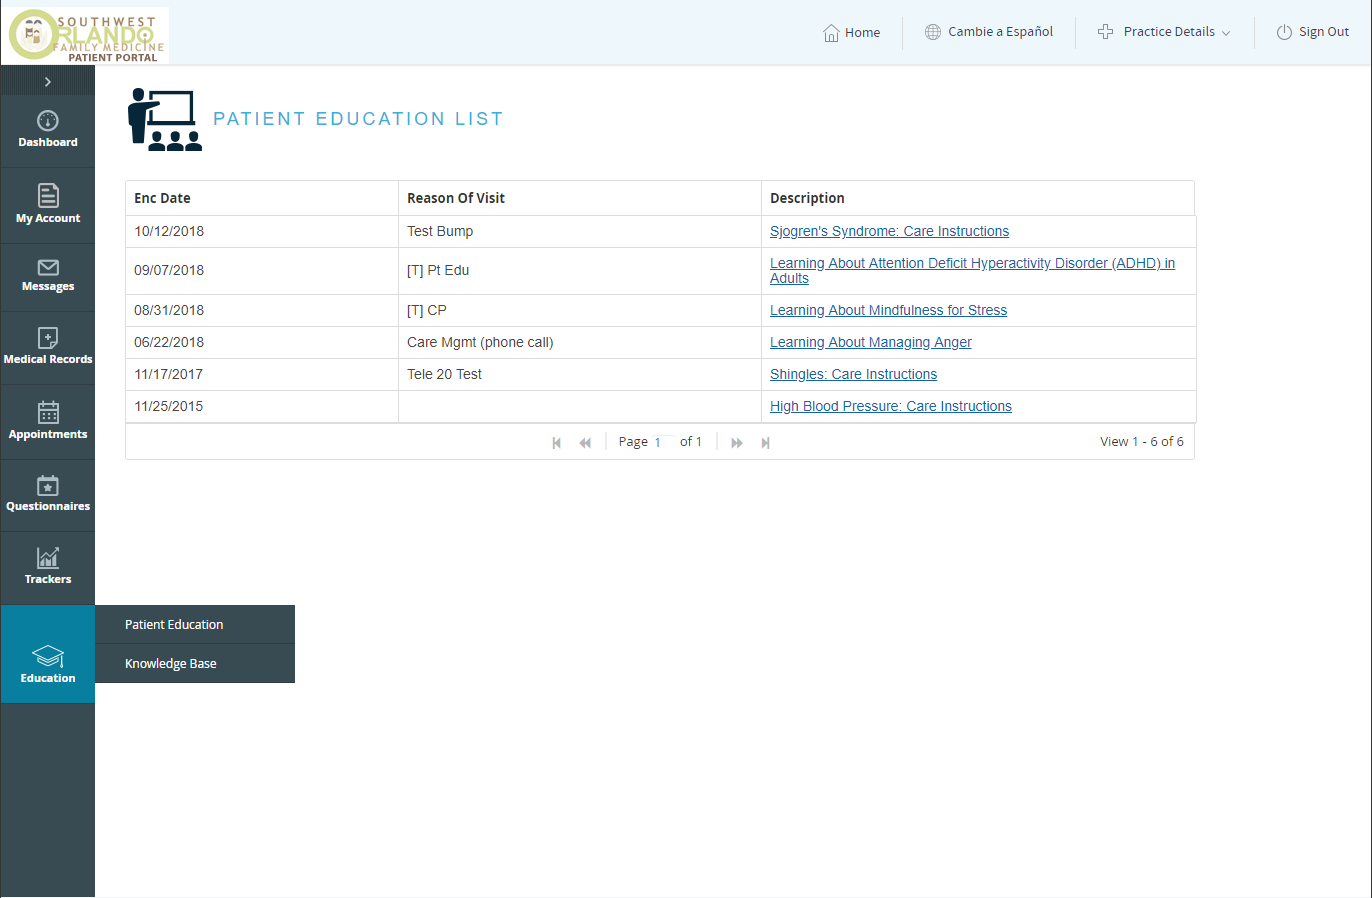
Education
Messages
Medical Records
Appointments
Questionnaires
Trackers
Education

Appointments
Questionnaires
Trackers
Education
Trackers
Education
Healow Video Tutorials
Healow – How to Download the App
Healow Review Visit Summary
Healow Refill Requests
Healow TeleHealth Appointment